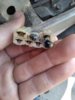
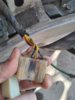
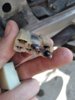
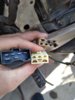
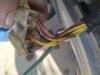
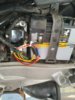
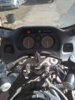
Good morning guys, so I have a 93 ST and I burned up the VRR and 6 pin connector.
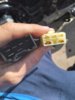
New VRR is already here and I ordered what I THOUGHT would replace the stock one but it is not a match. I cannot find this piece anywhere. Can anyone point me in the right direction to solve this issue?
Thanks in advance I can't wait to get her back on the road
New VRR is already here and I ordered what I THOUGHT would replace the stock one but it is not a match. I cannot find this piece anywhere. Can anyone point me in the right direction to solve this issue?
Thanks in advance I can't wait to get her back on the road