
Alright, so last year I bought a totaled /01 ST1100 from an inmate over on ADVRider. I posted the "build" there, but I've had a couple people suggest that I post it here too. If y'all don't like it, let me know and I'll quit posting. A
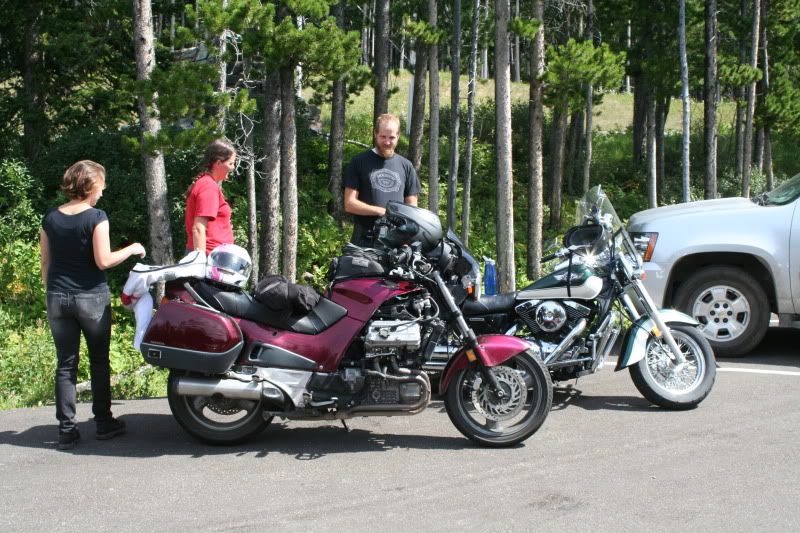
Also hoping to meet / ride with some fellow ST'ers, but we'll get to that later. The Hog Catchers story:
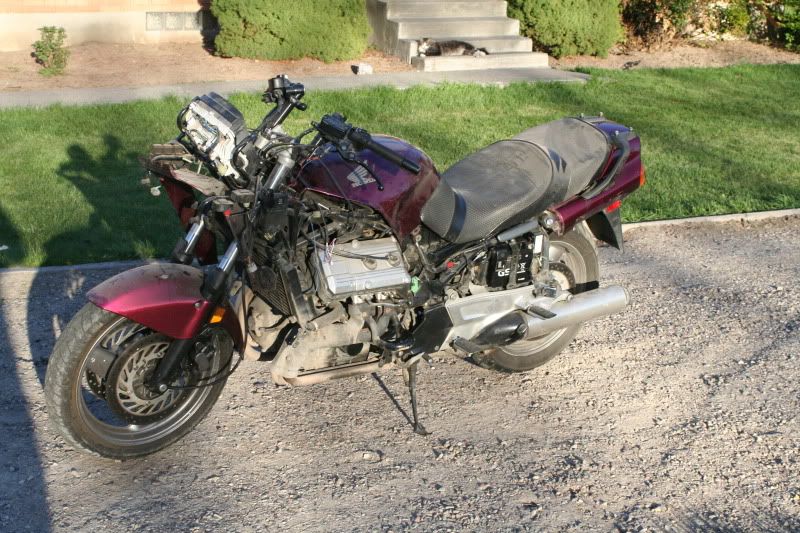
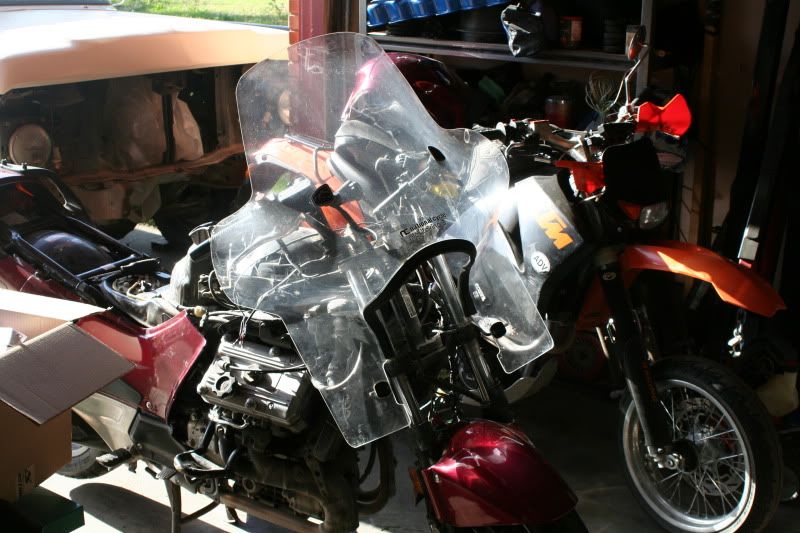
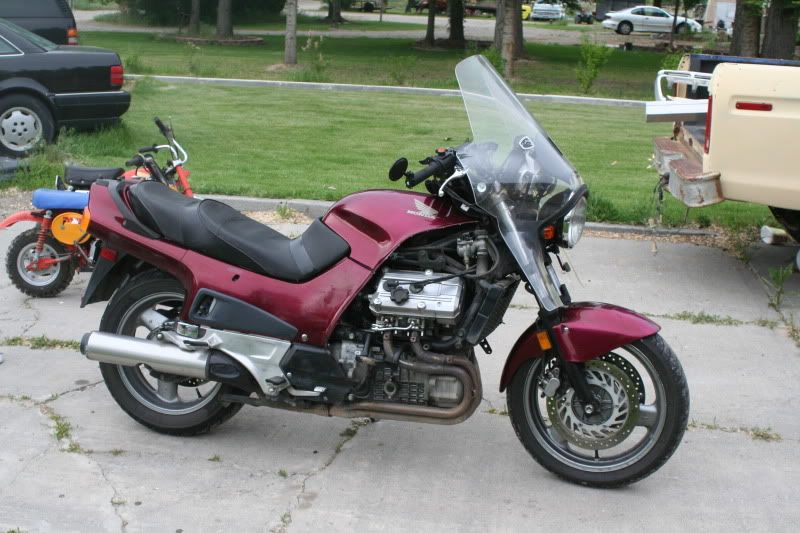
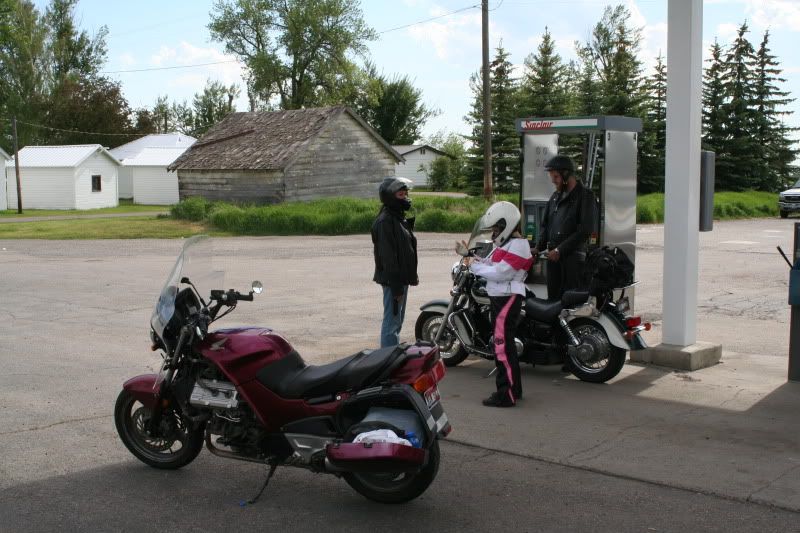
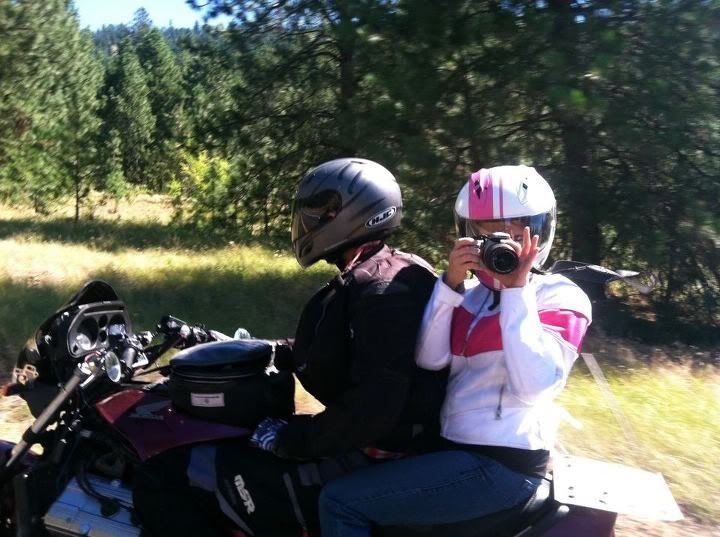
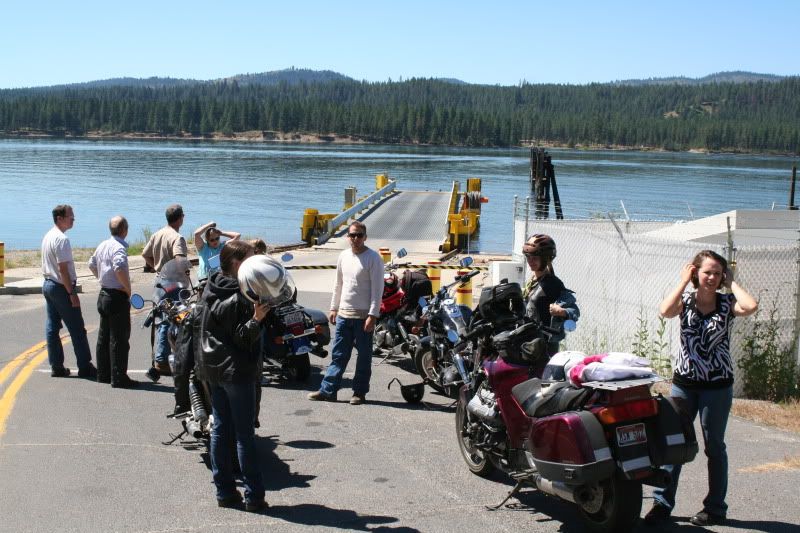
Picked up this '01 ST1100 today from rapidoxidationman. Nice guy, glad I drove all the way up there! He had a bit of a face plant on it...
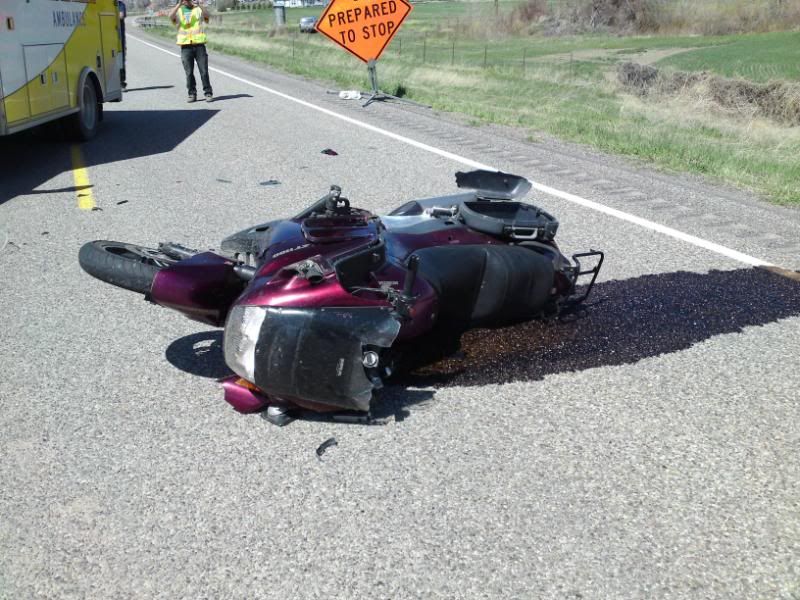
Some of his pics:
The story of his wreck: http://www.advrider.com/forums/showthread.php?t=579768
I had originally talked to him about buying his bike a couple of years ago but at the time couldnt' afford it and didnt have a place to put it. Have a place, and recently sold a vehicle (
 ) and needed another project. ALMOST as bad as I need another hole in my head.
 And so it begins- the resurrection of rapidoxidationmans ST.
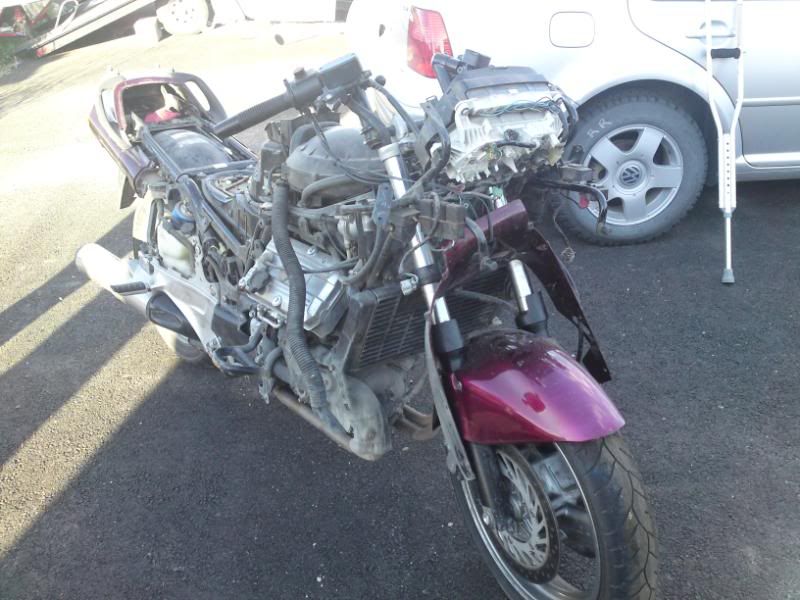
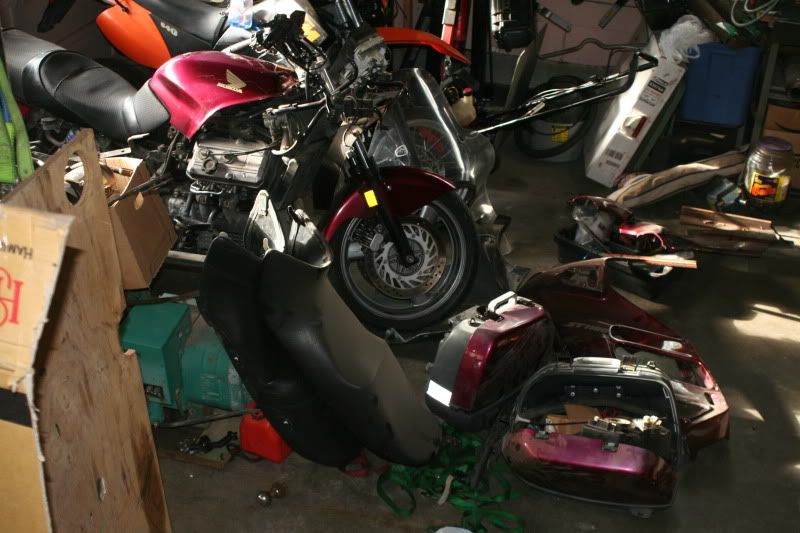
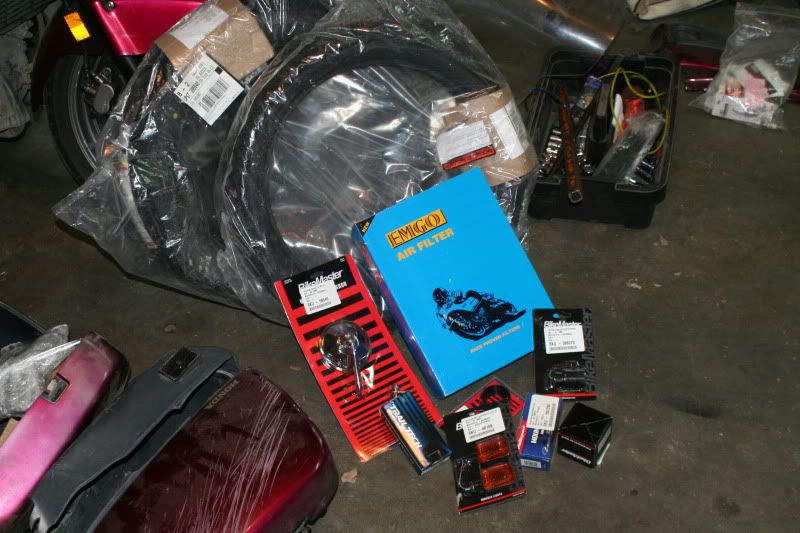
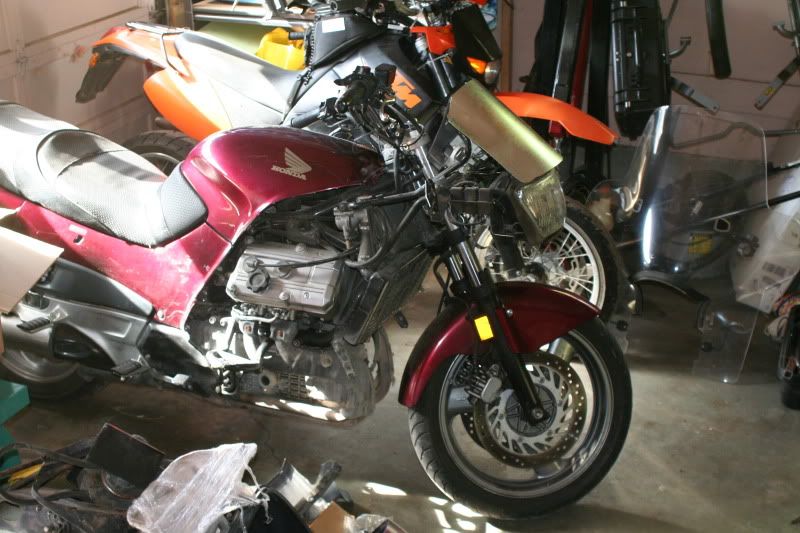
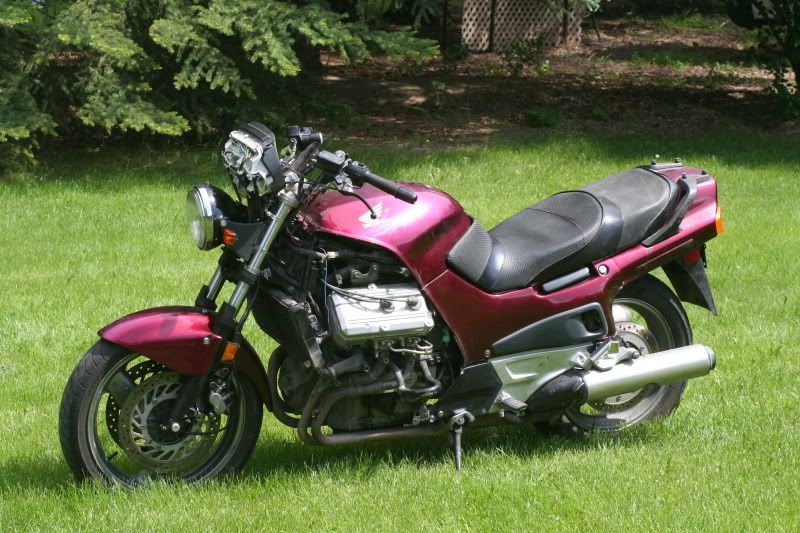
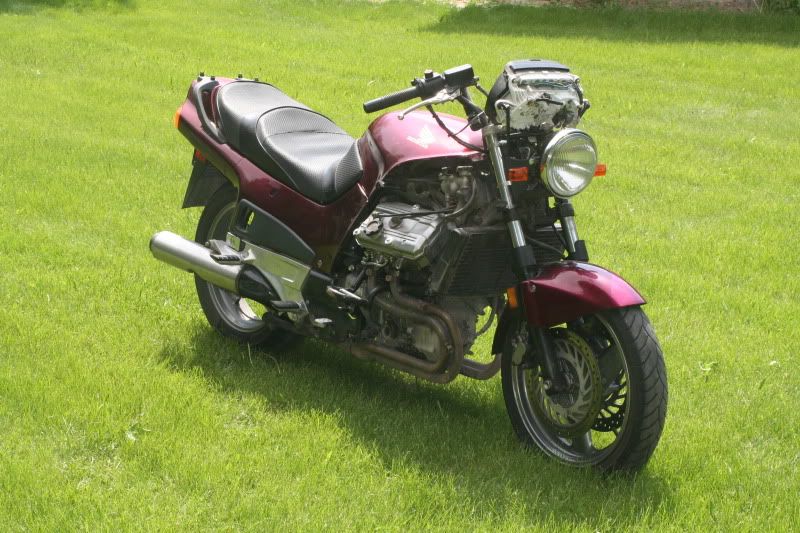
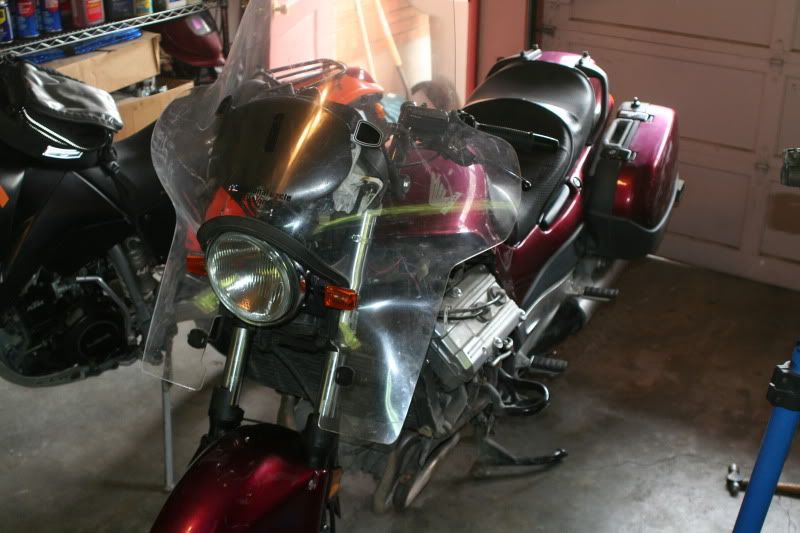
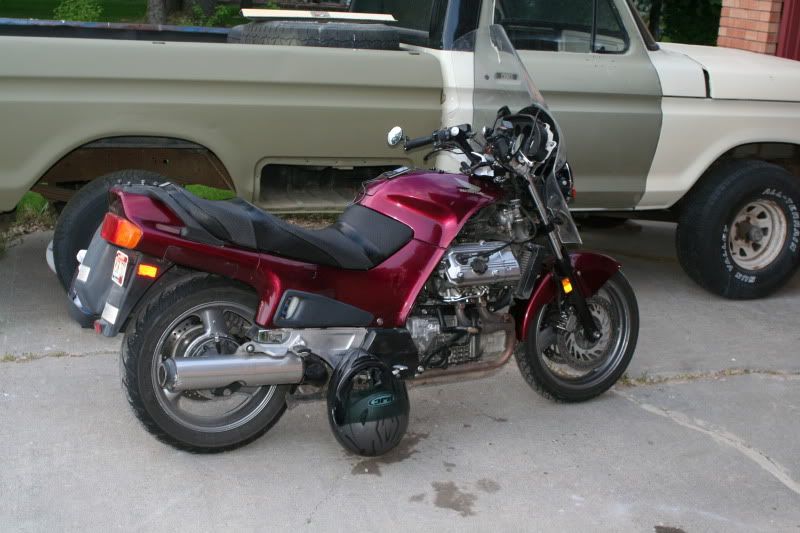
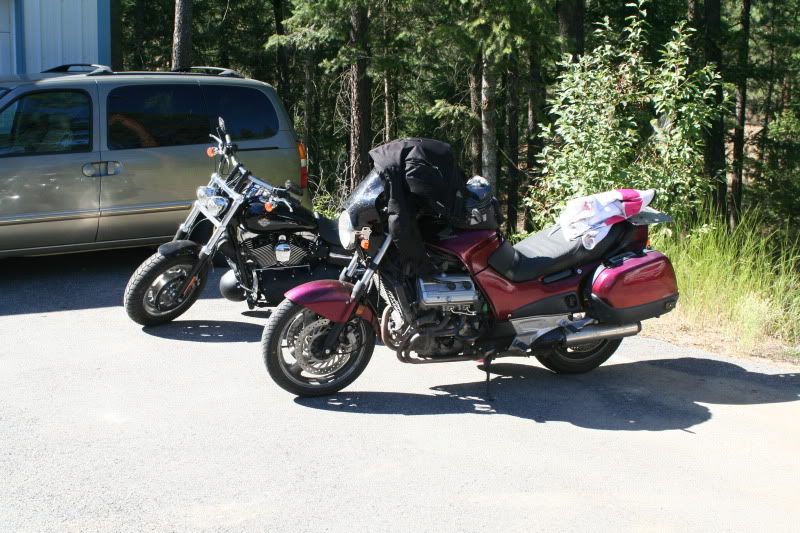
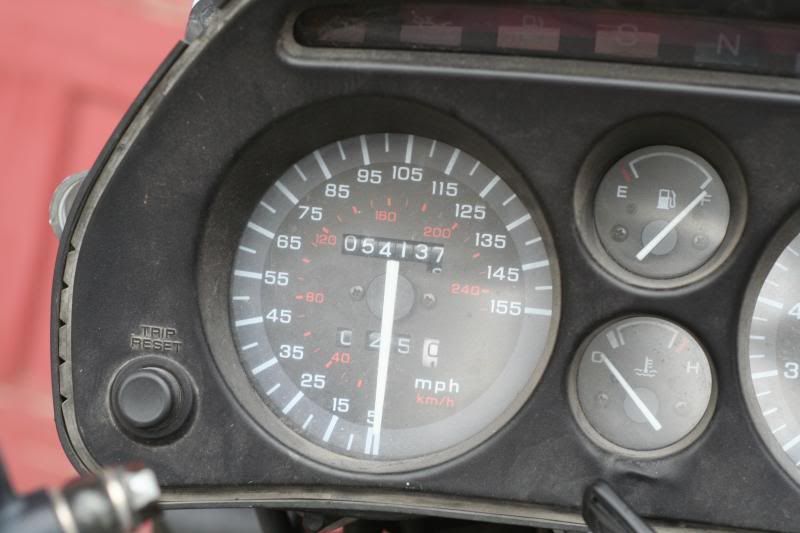
Drove about 2 hours to get there, looked it over, put a battery in, fired it up, and rode it about 25 feet. Good enough! Got most of the parts (think I may have forgot a bag of nuts and bolts?!) and trundled on home.
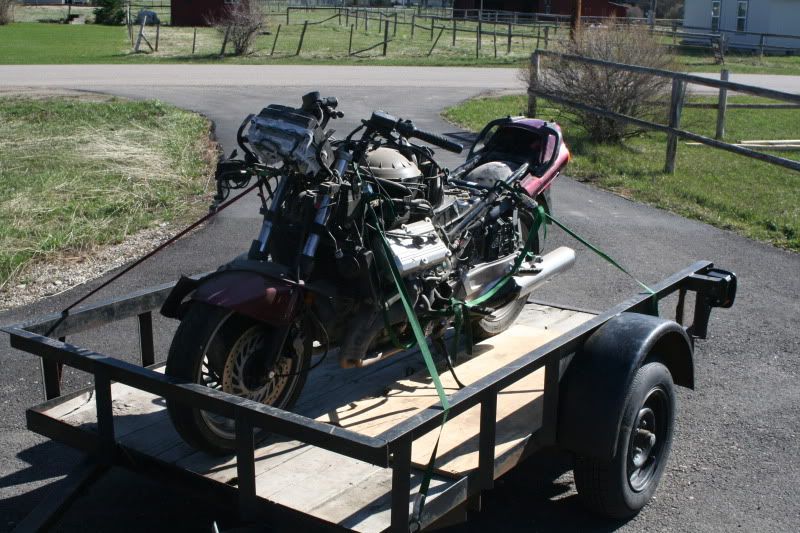
Loaded and ready for the ride home:
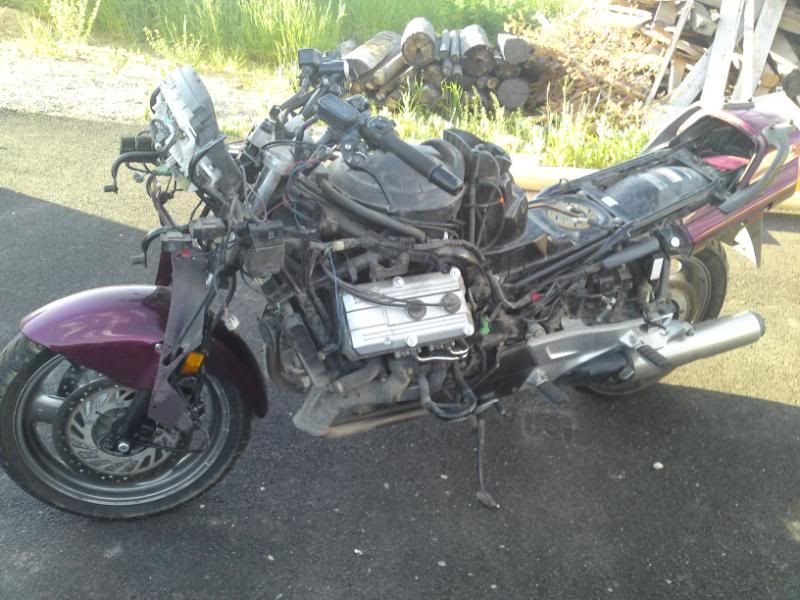
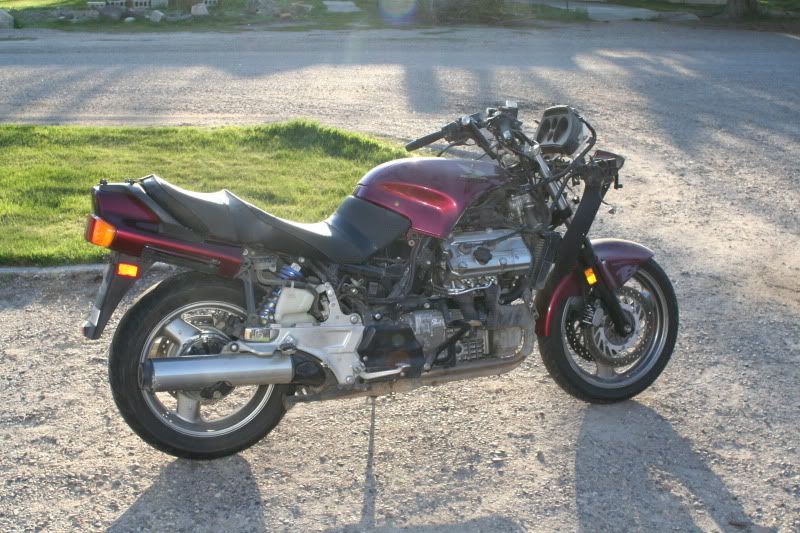
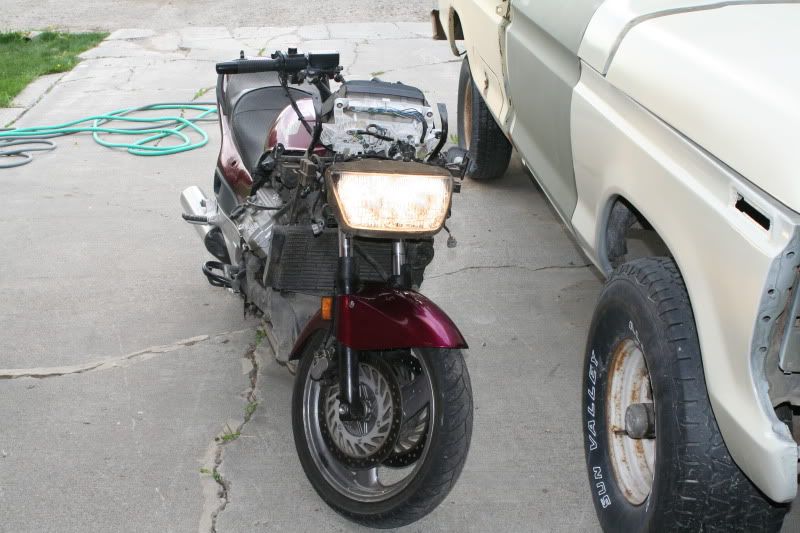
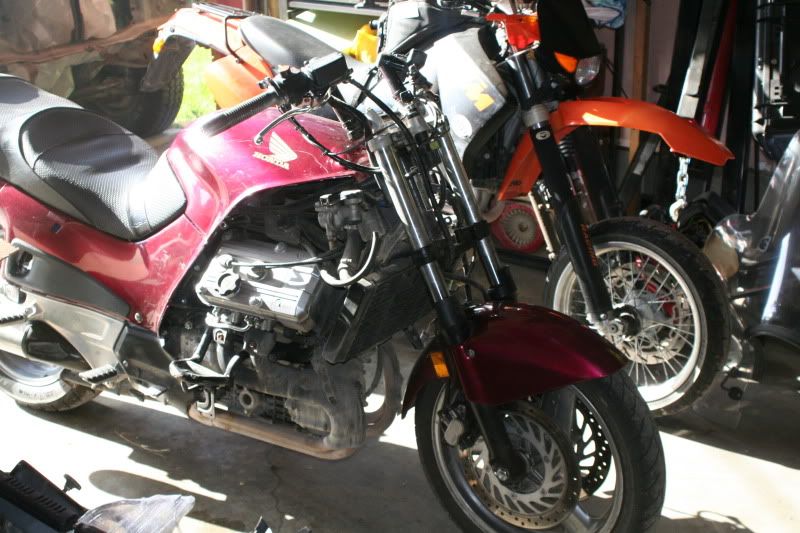
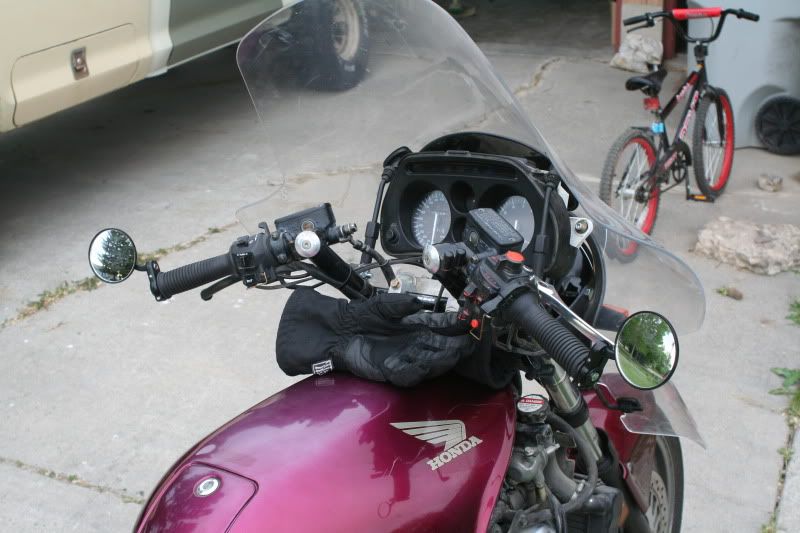
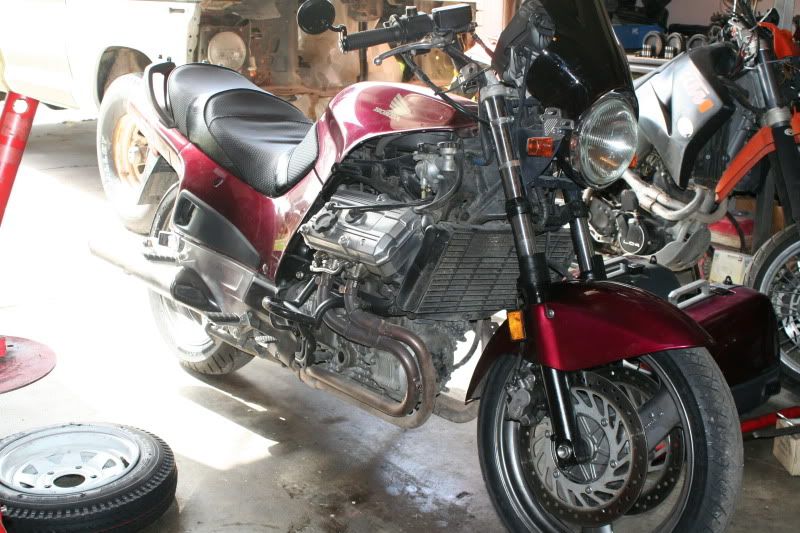
After I aired up the front tire and took it for a little spin:
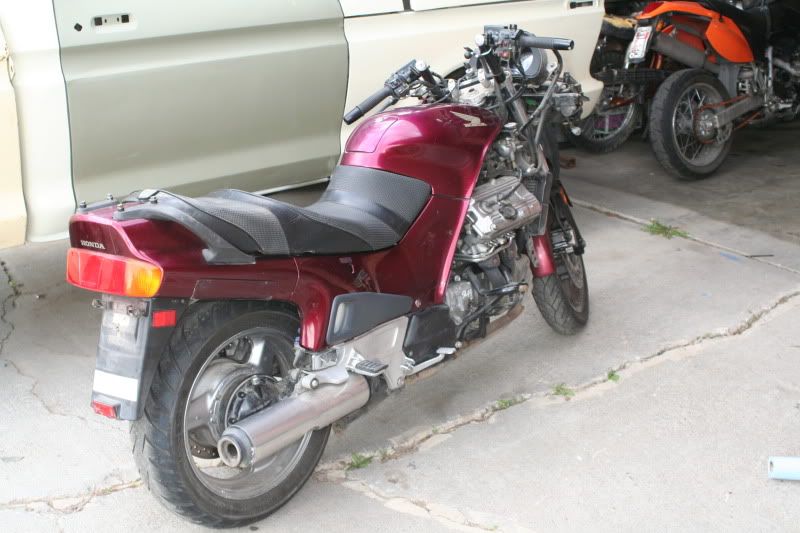
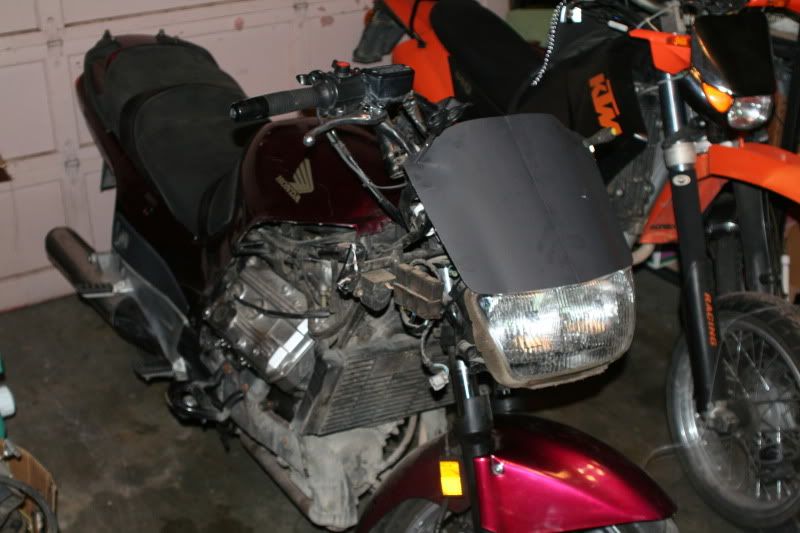
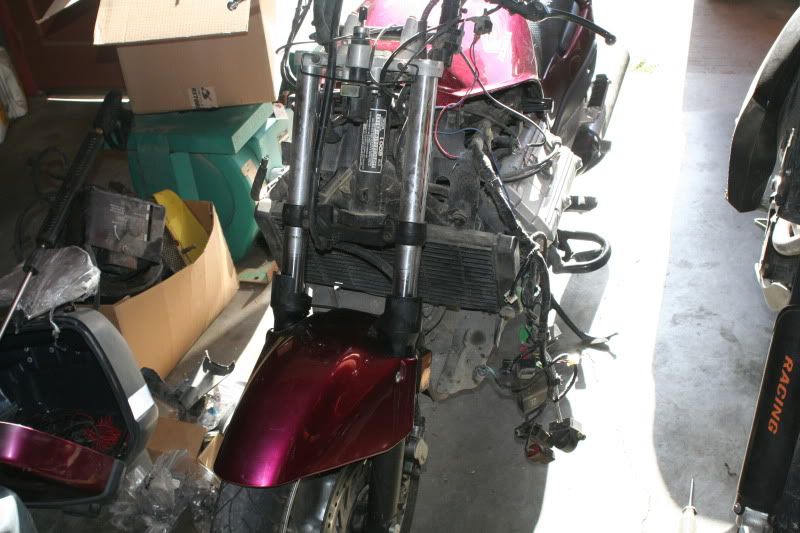
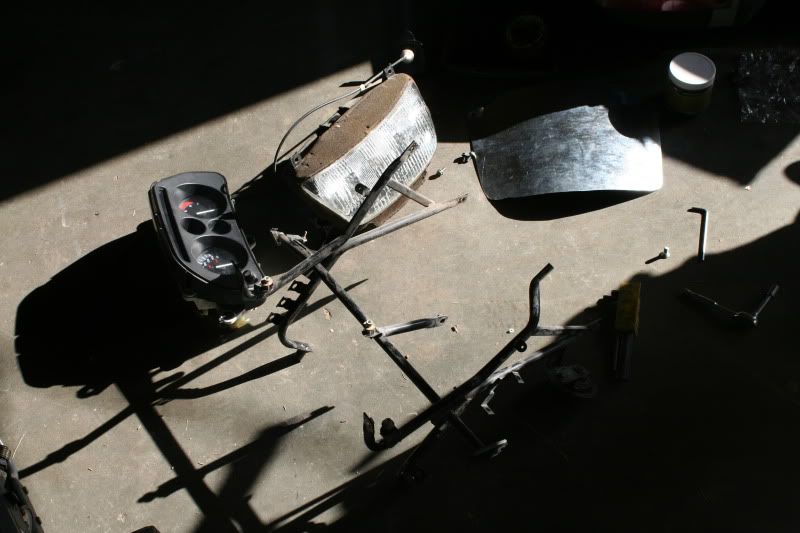
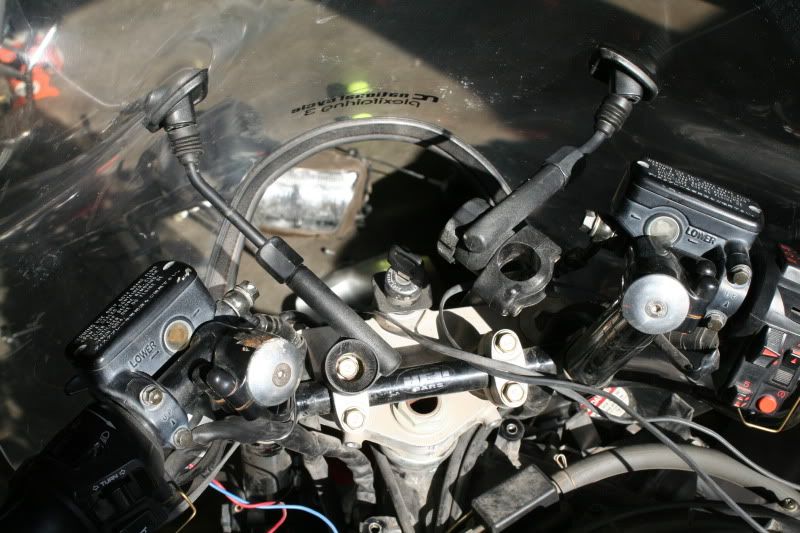
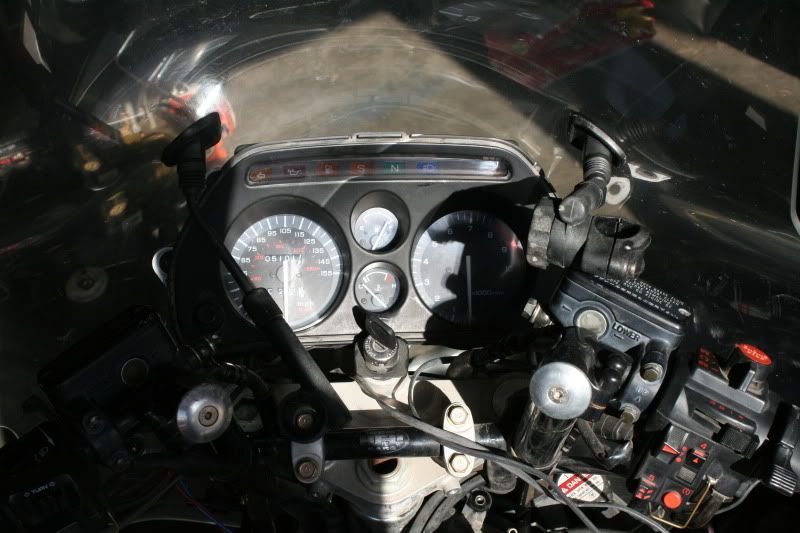
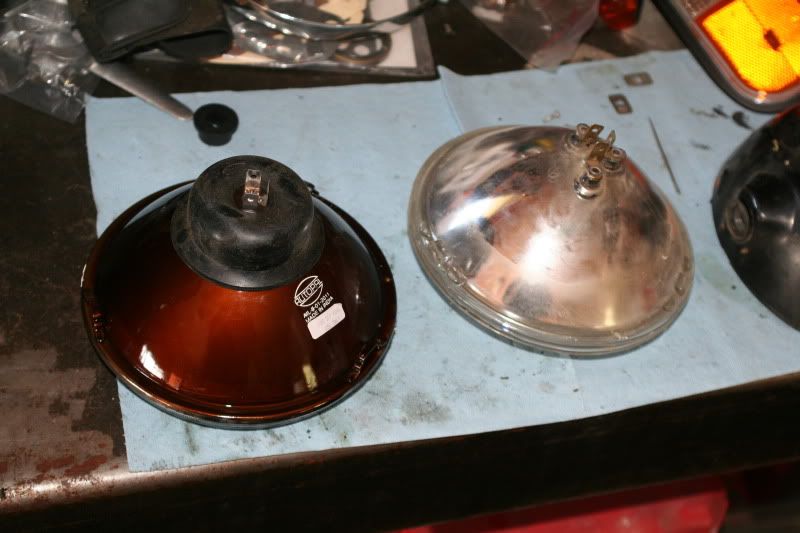
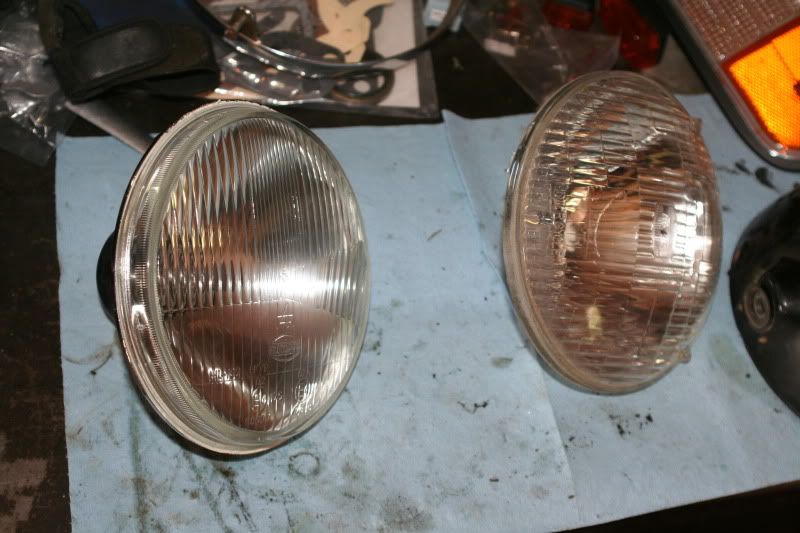
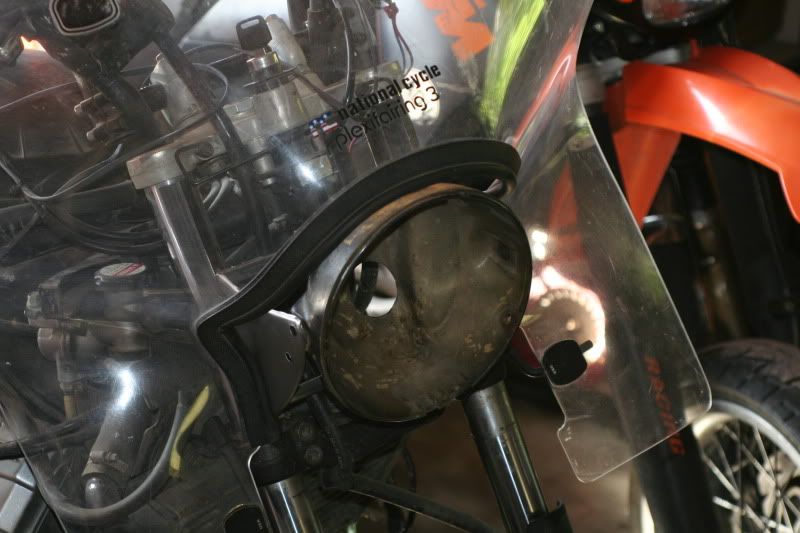
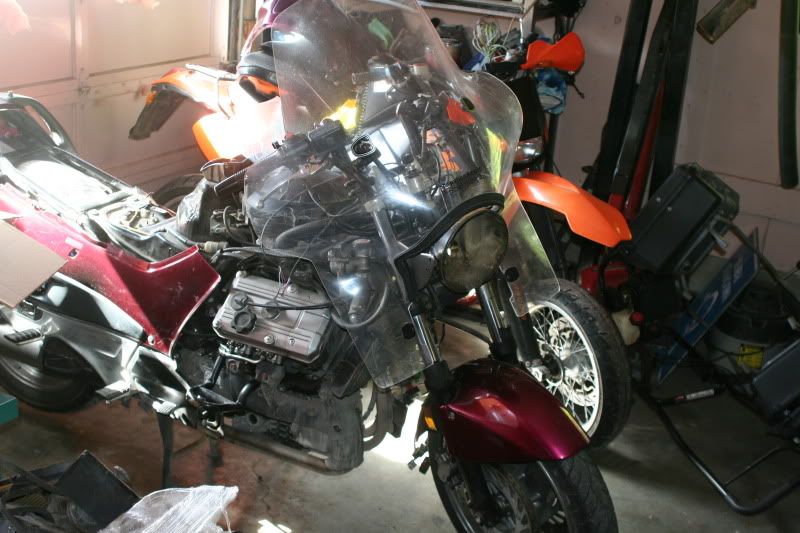
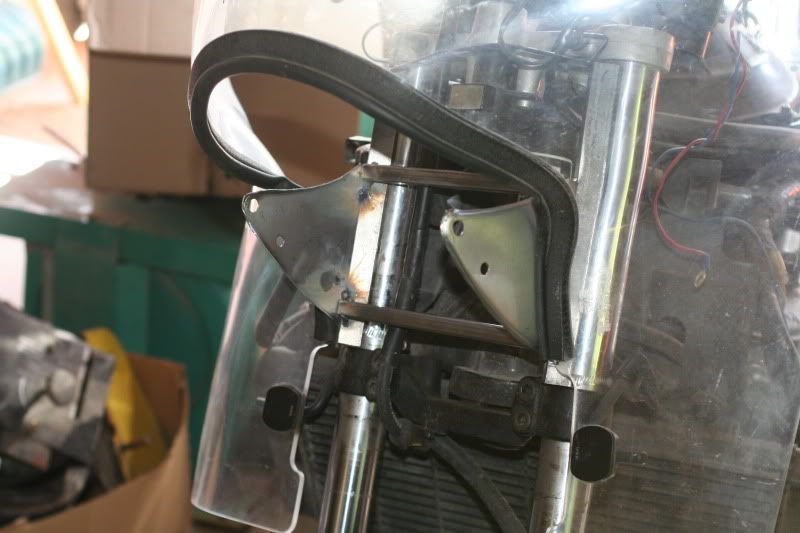
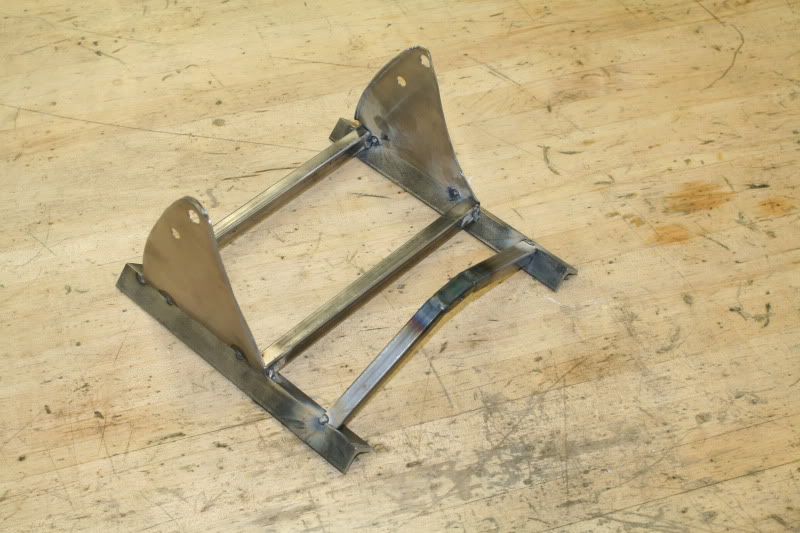
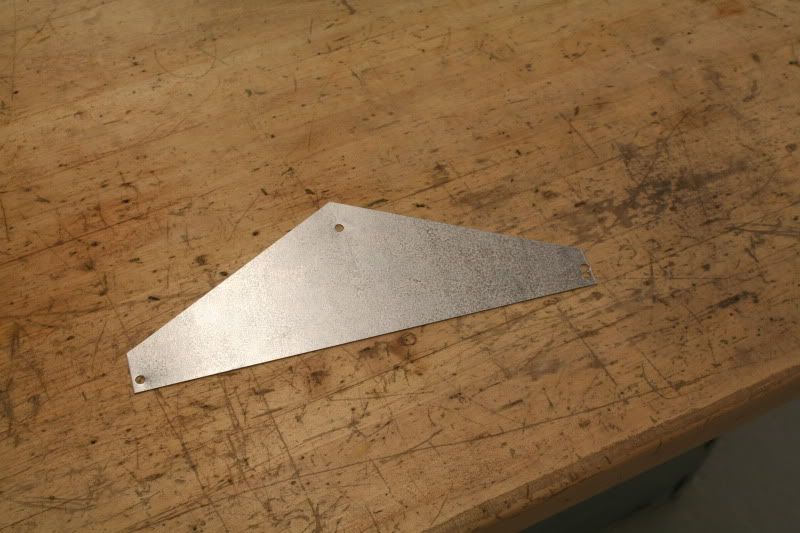
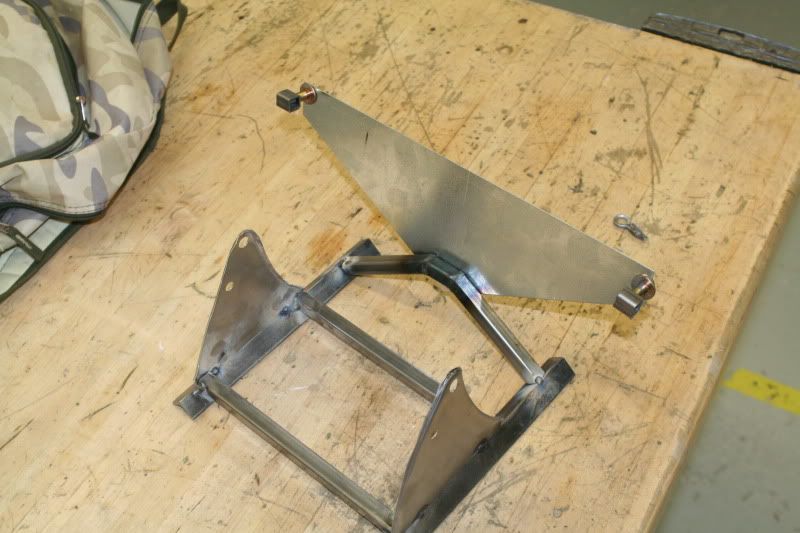
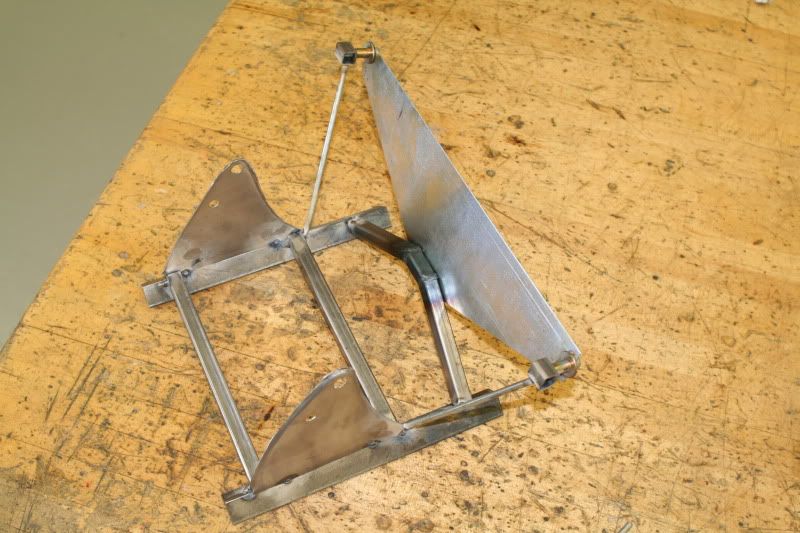
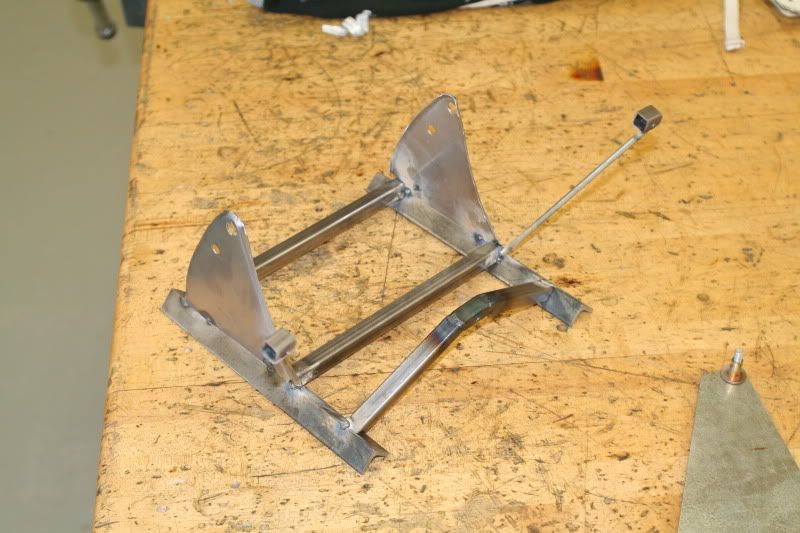
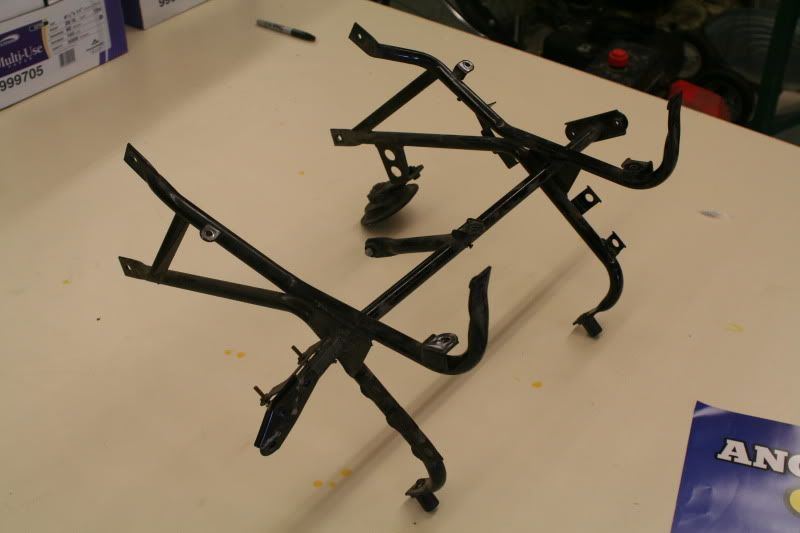
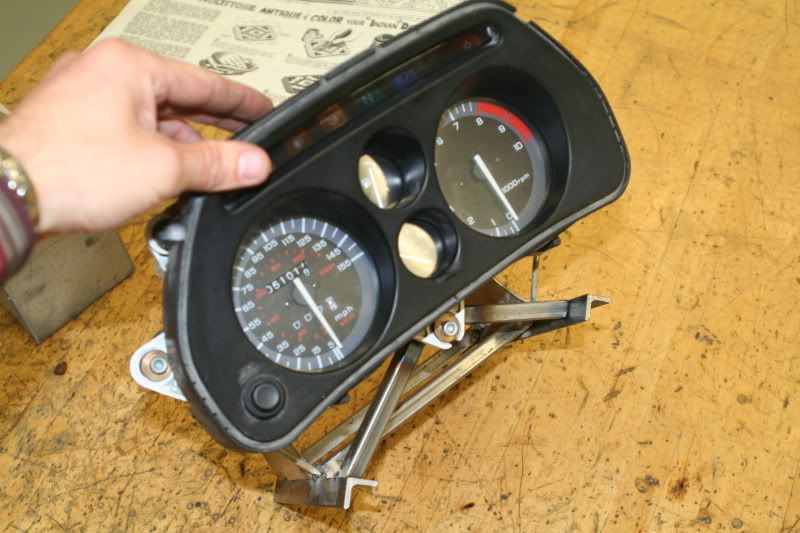
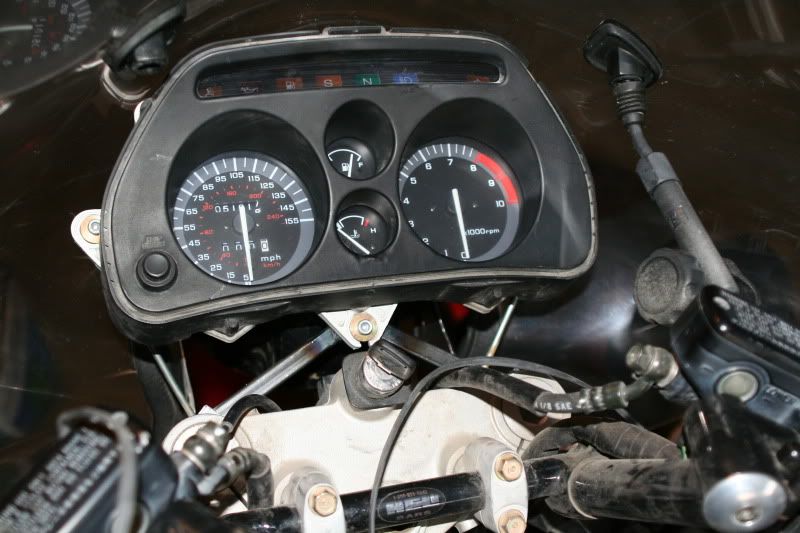
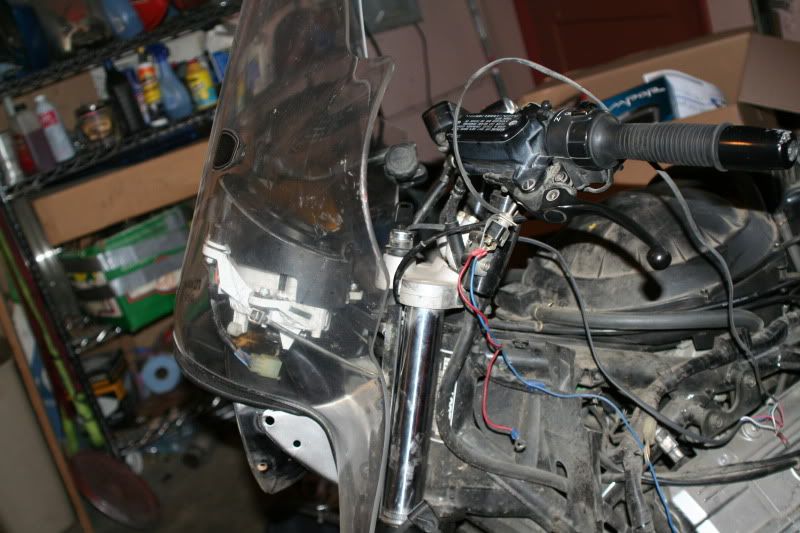
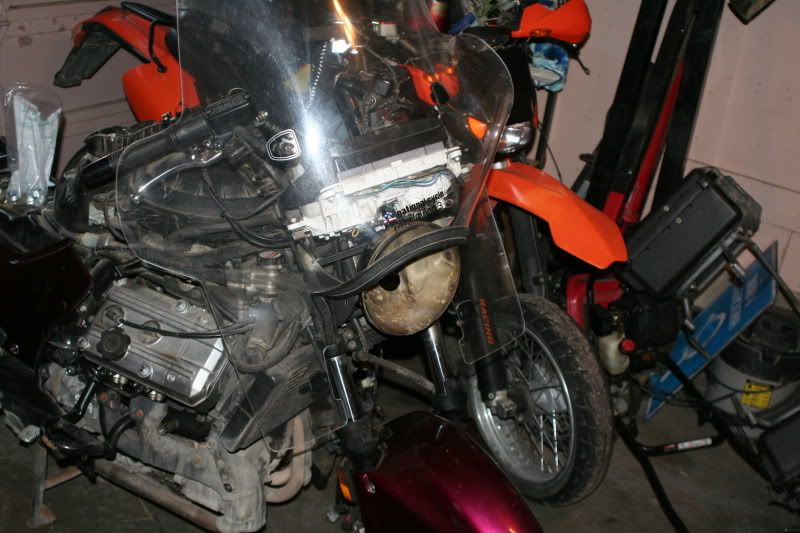
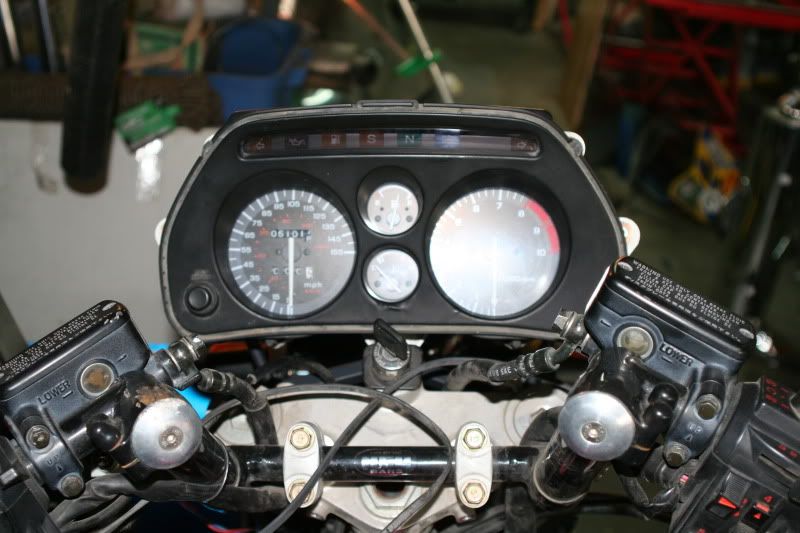
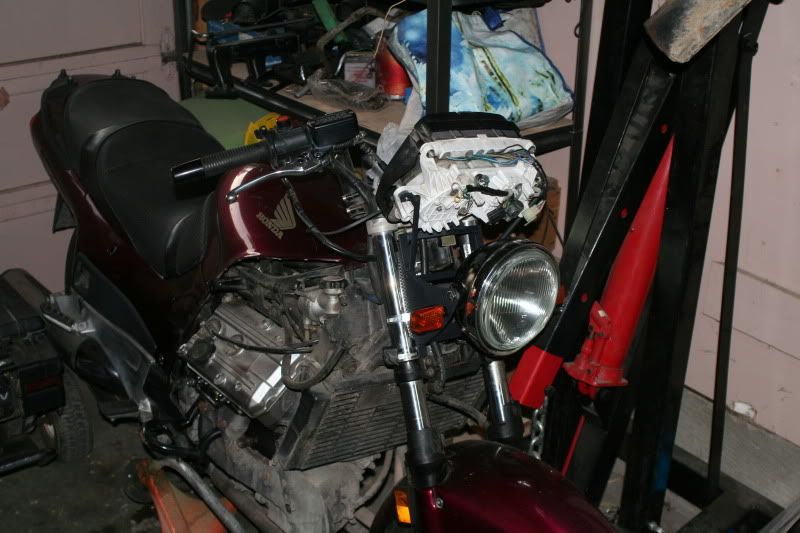
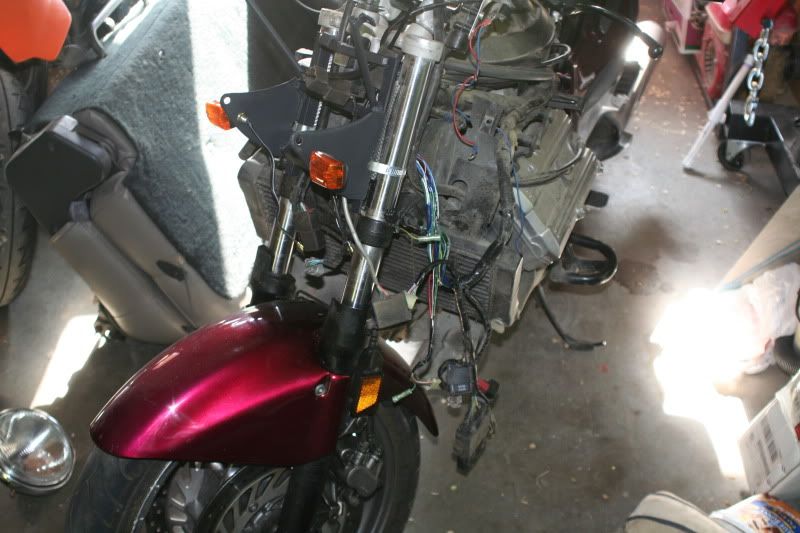
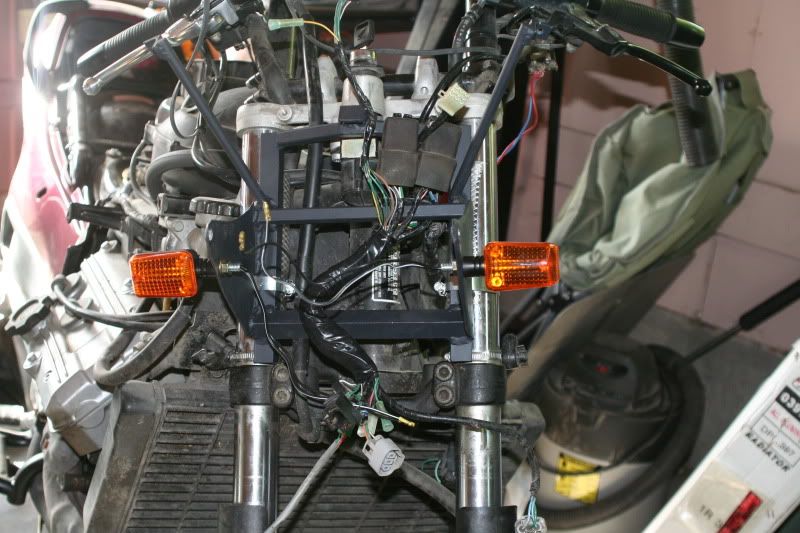
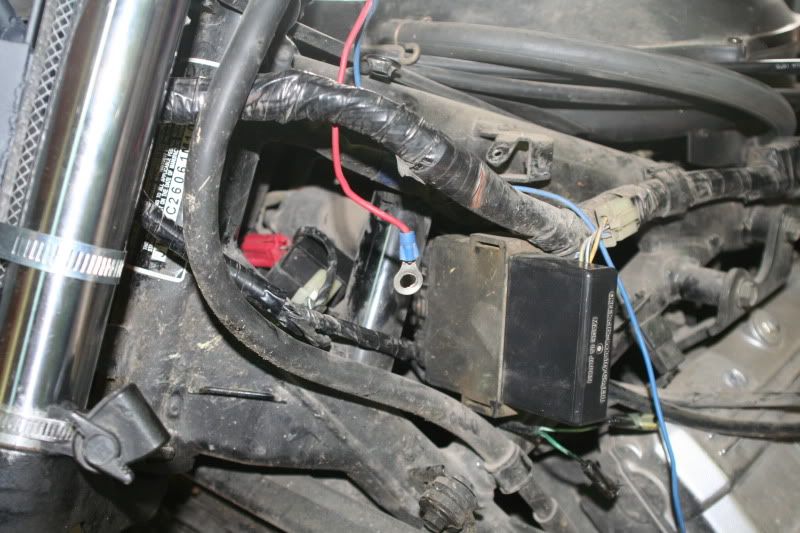
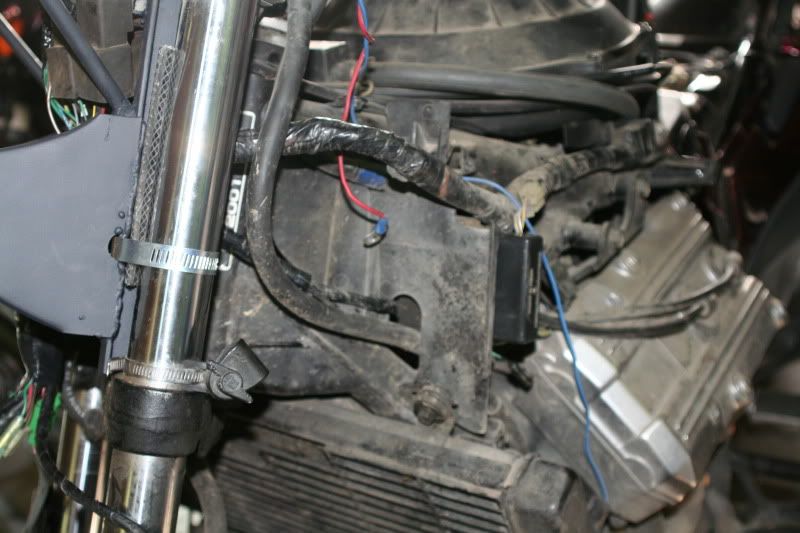
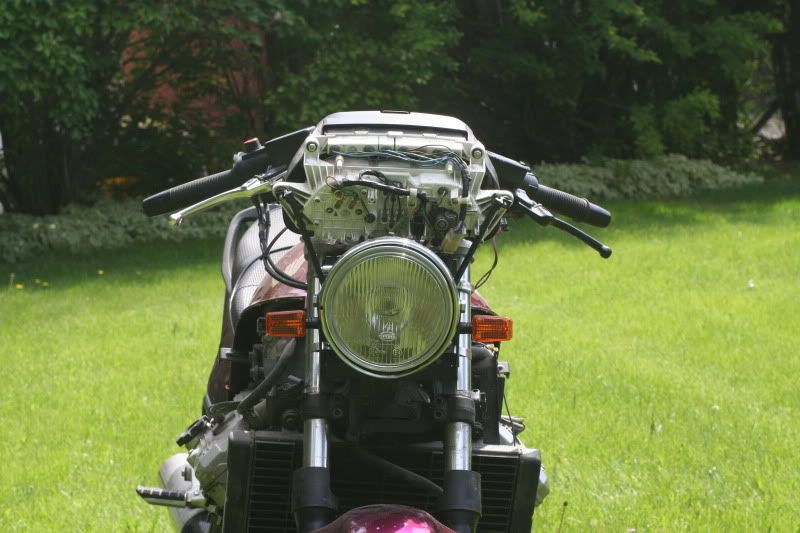
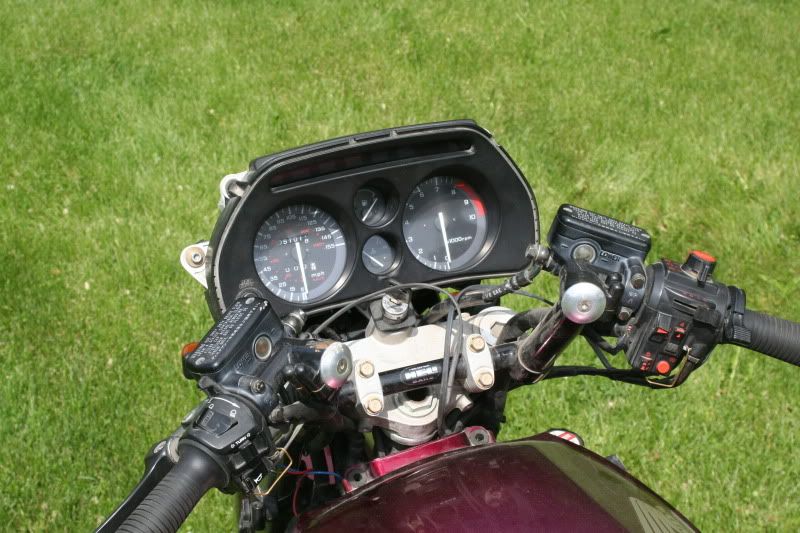
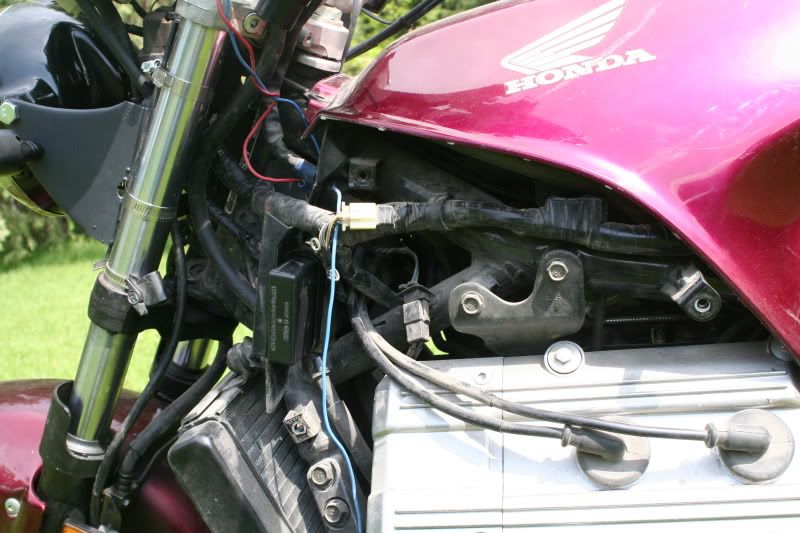
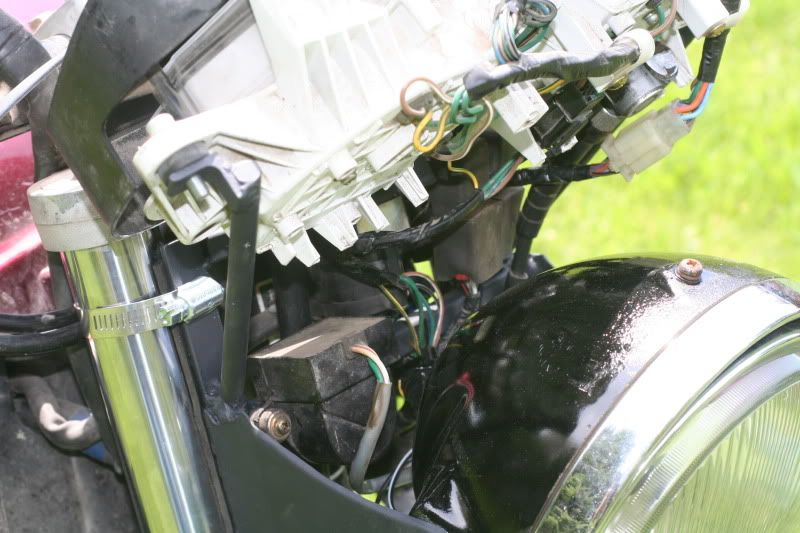
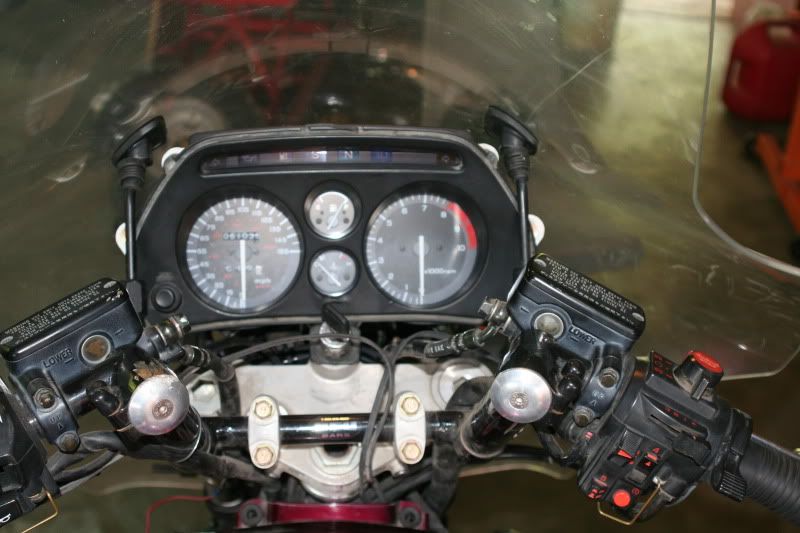
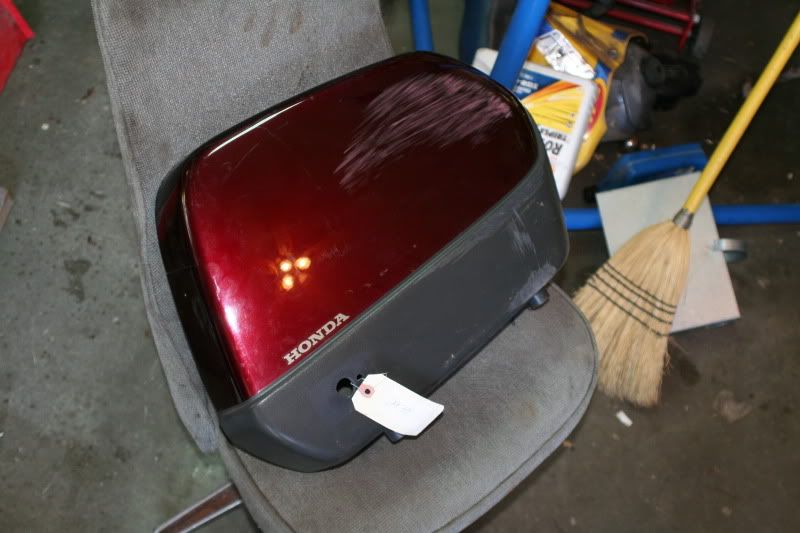
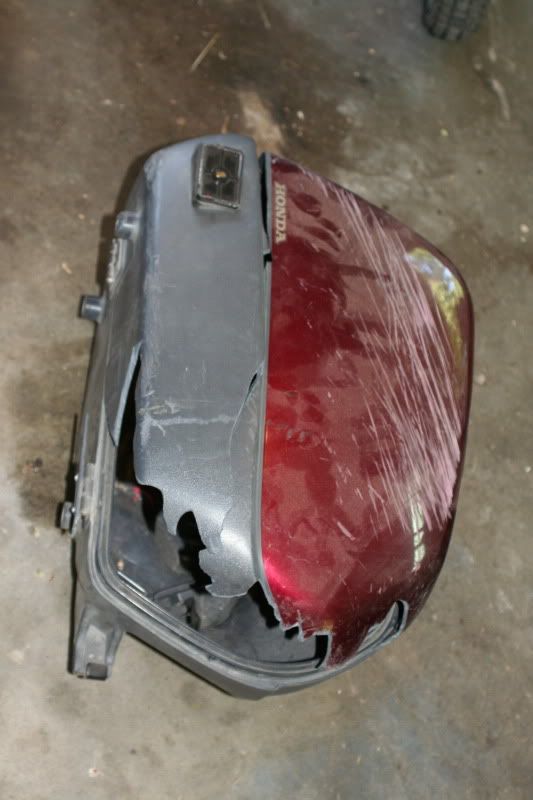
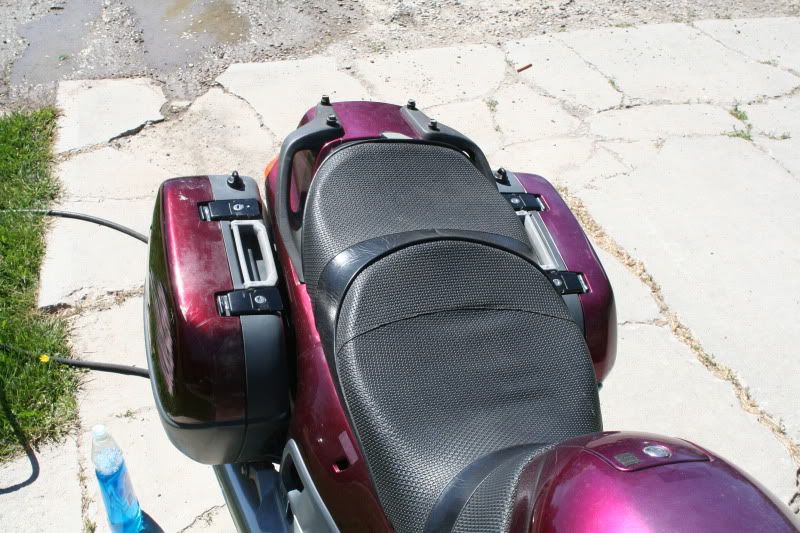
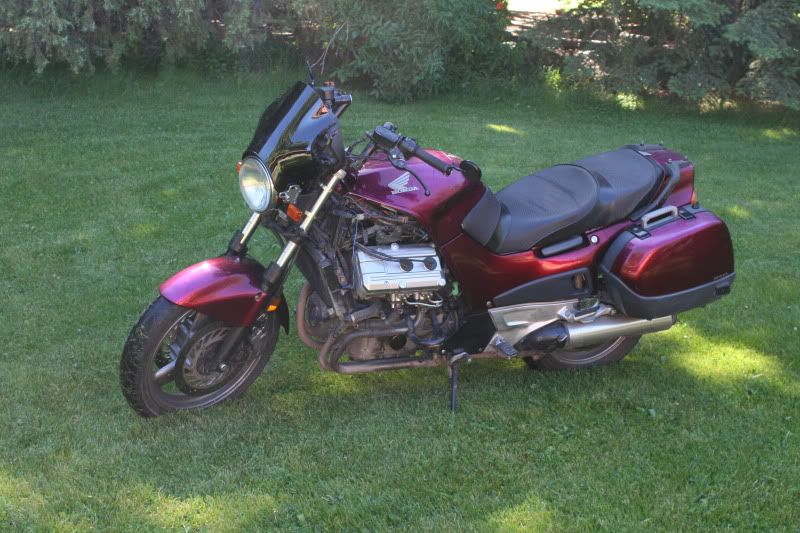
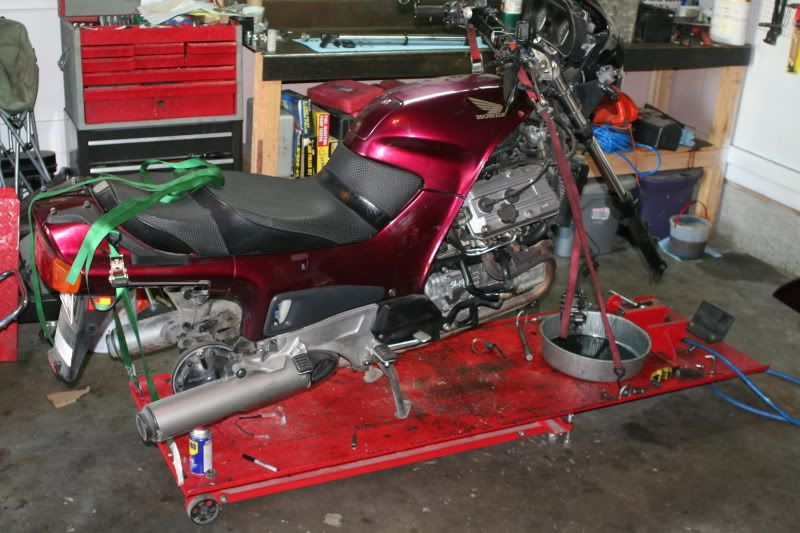
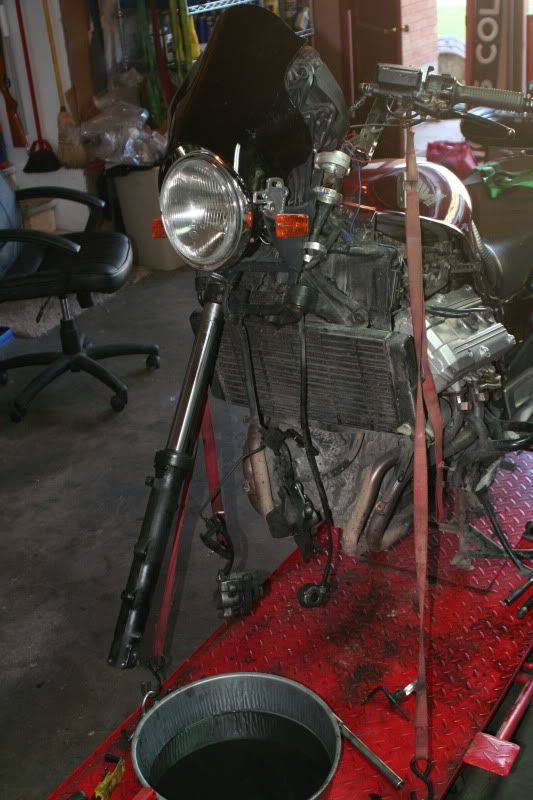
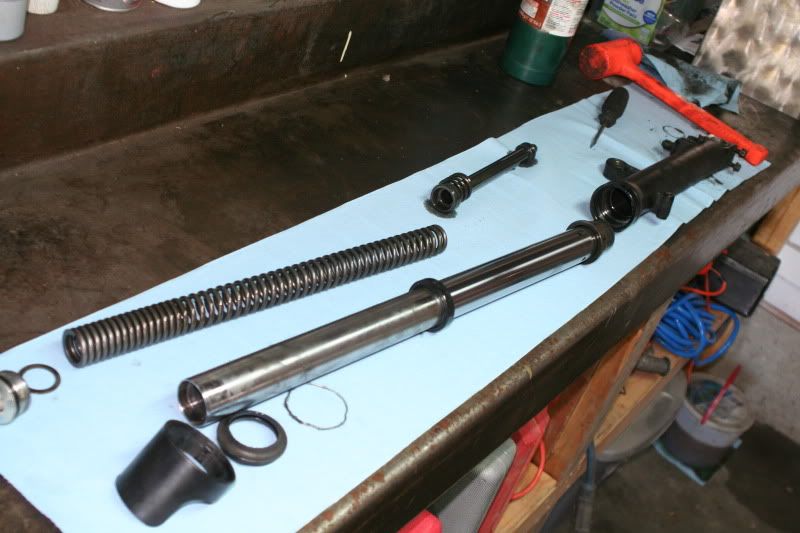
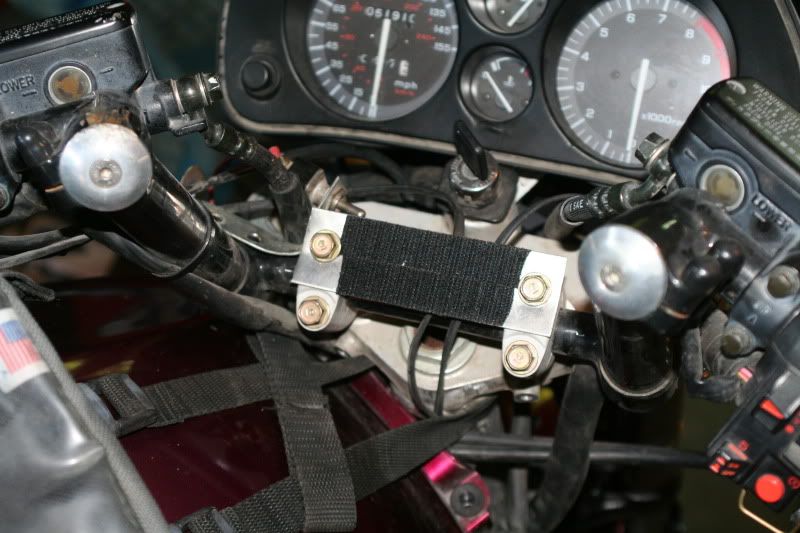
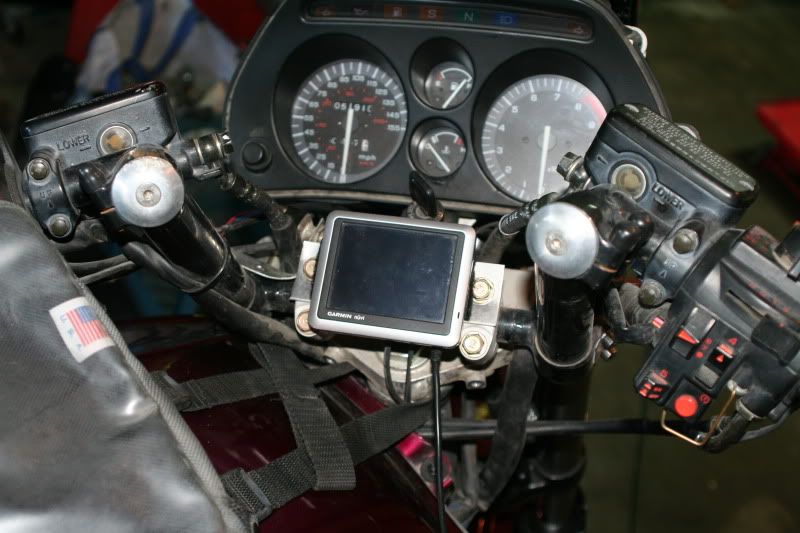
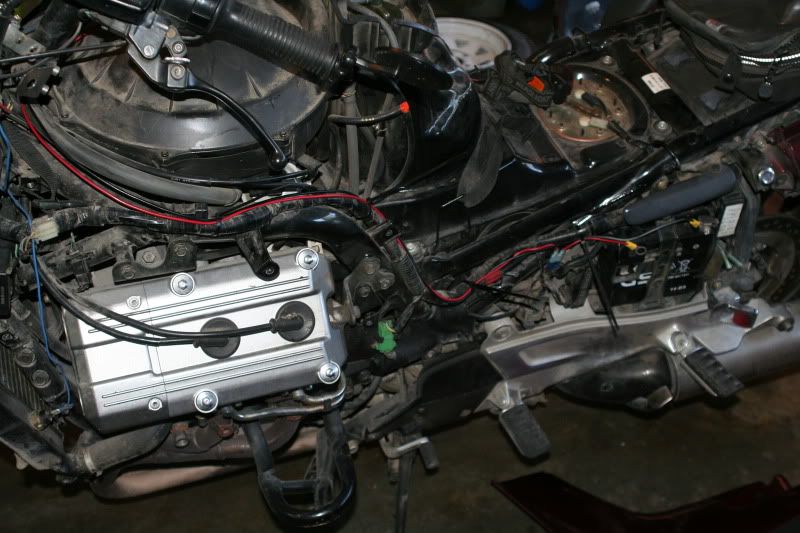
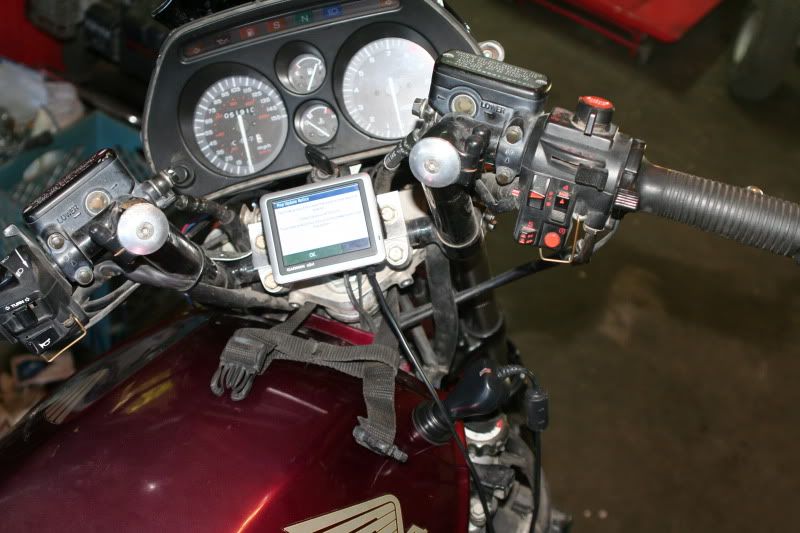
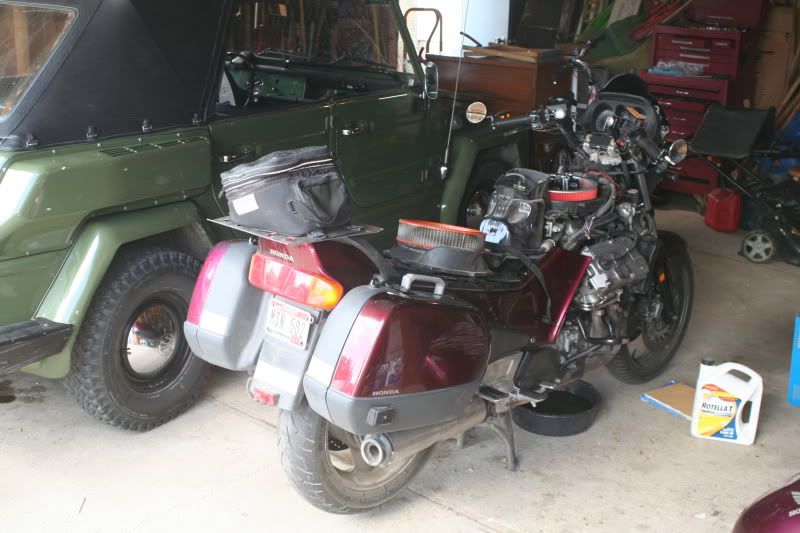
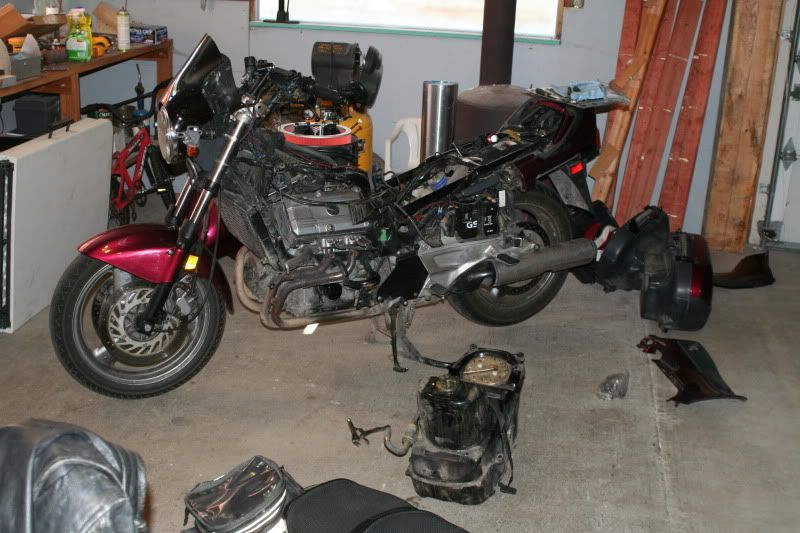
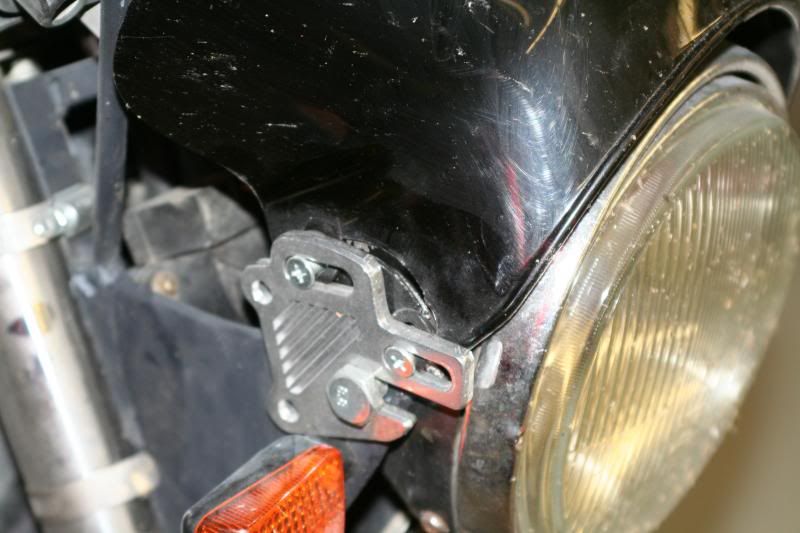
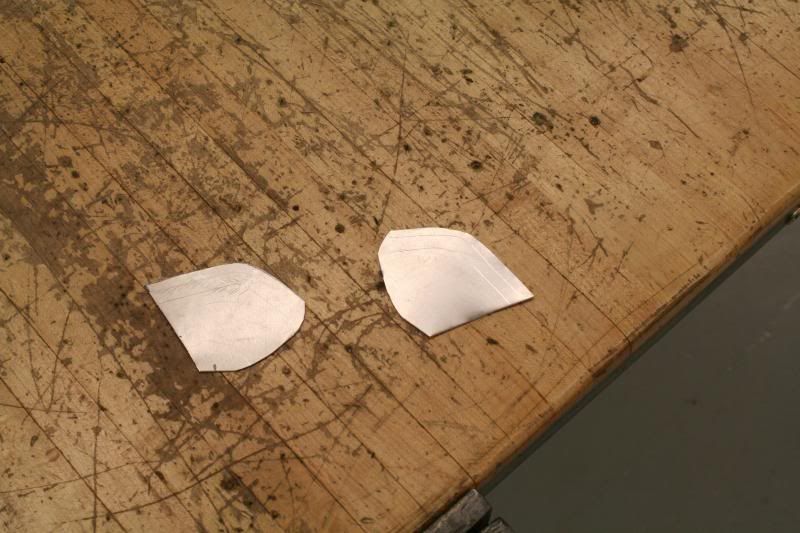
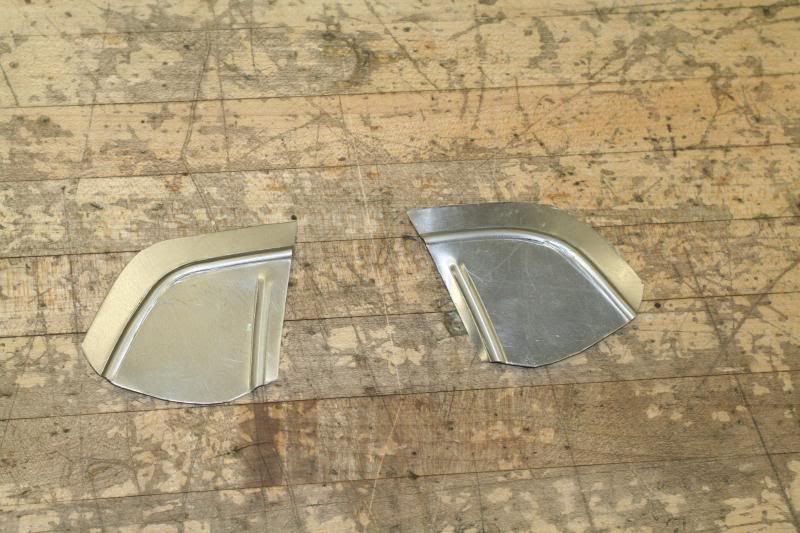
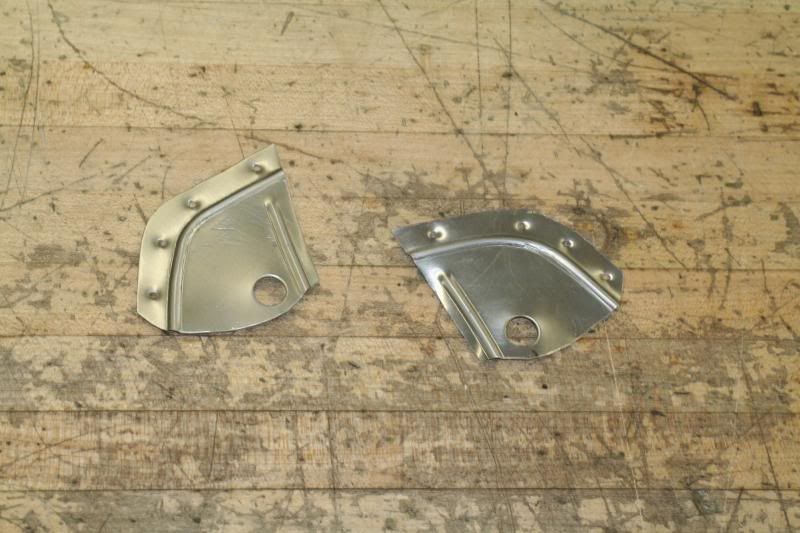
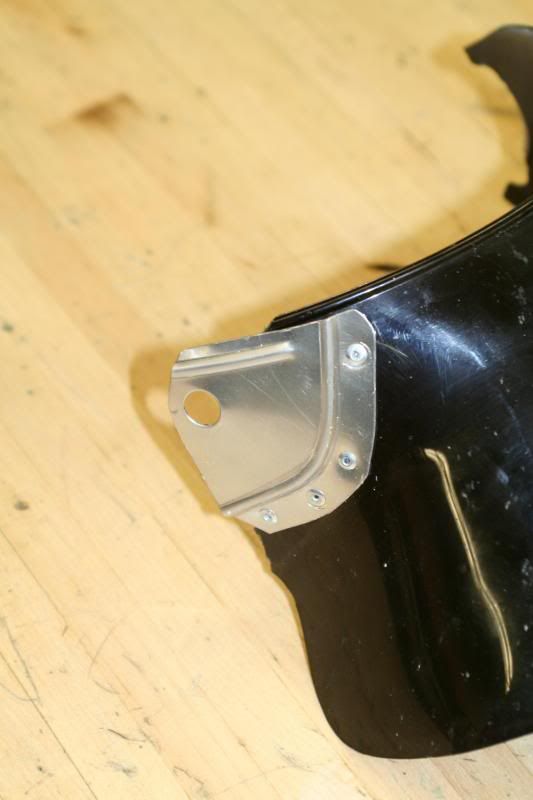
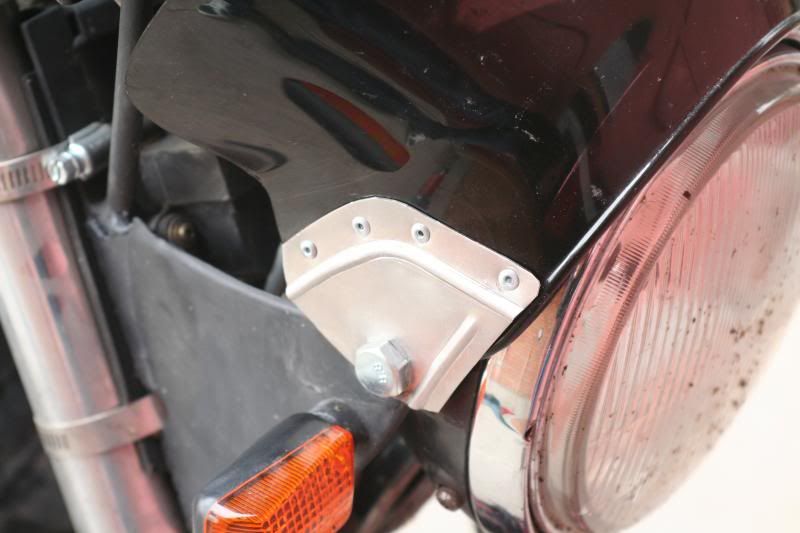
Seems to run great. Has a little bit of noise coming from the right rear valve cover where it took a hit when it was wrecked. There appears to be a vacuum ??? line above the exhaust header that is cracked, may be coming from that? Looks like its in fairly decent shape all things considered. Going to have to pick up a new foot peg, brake lever, and that cracked metal line, whatever it is. Planning on getting it road legal as quick as possible- naked sport bike style, then cleaning up all the exposed bits and scratched / bent / broken stuff.
Also hoping to meet / ride with some fellow ST'ers, but we'll get to that later. The Hog Catchers story:
Picked up this '01 ST1100 today from rapidoxidationman. Nice guy, glad I drove all the way up there! He had a bit of a face plant on it...
Some of his pics:
The story of his wreck: http://www.advrider.com/forums/showthread.php?t=579768
I had originally talked to him about buying his bike a couple of years ago but at the time couldnt' afford it and didnt have a place to put it. Have a place, and recently sold a vehicle (
Drove about 2 hours to get there, looked it over, put a battery in, fired it up, and rode it about 25 feet. Good enough! Got most of the parts (think I may have forgot a bag of nuts and bolts?!) and trundled on home.
Loaded and ready for the ride home:
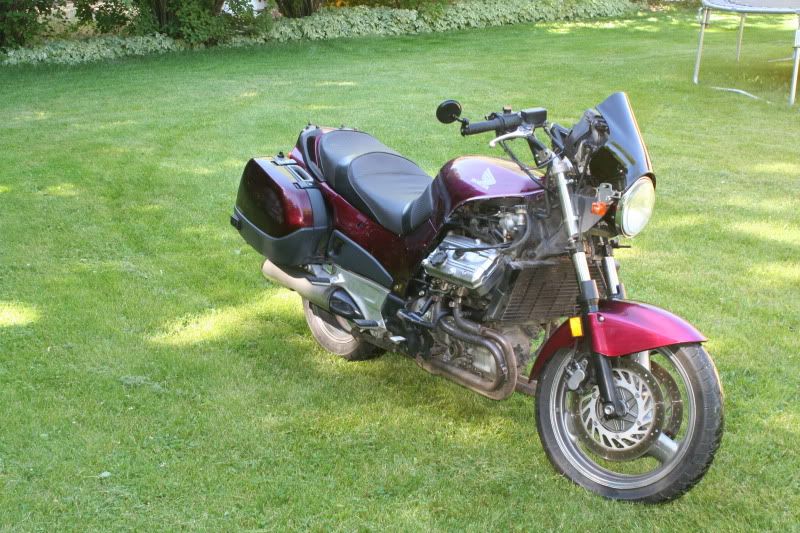
After I aired up the front tire and took it for a little spin:
Seems to run great. Has a little bit of noise coming from the right rear valve cover where it took a hit when it was wrecked. There appears to be a vacuum ??? line above the exhaust header that is cracked, may be coming from that? Looks like its in fairly decent shape all things considered. Going to have to pick up a new foot peg, brake lever, and that cracked metal line, whatever it is. Planning on getting it road legal as quick as possible- naked sport bike style, then cleaning up all the exposed bits and scratched / bent / broken stuff.


")