Good day all.
I was on a quest to find under mirror mounts for lights for the 1300, and the only options were to either spend $100 on a 3D print one, or make one my own by borrowing this genius thread made by @Obo which you should take a quick glance at before we continue, as I will be assuming you have already read through it.
 www.st-owners.com
However, the lights linked by the OP are no longer available on Amazon it seems, nor am I an electrical guy (and I'm also impatient) so I swung by the local Walmart and picked up the following Alpena TrekTec XL4Ps (Alpena's website shows they have a new model, the XL6P, it should work as well):
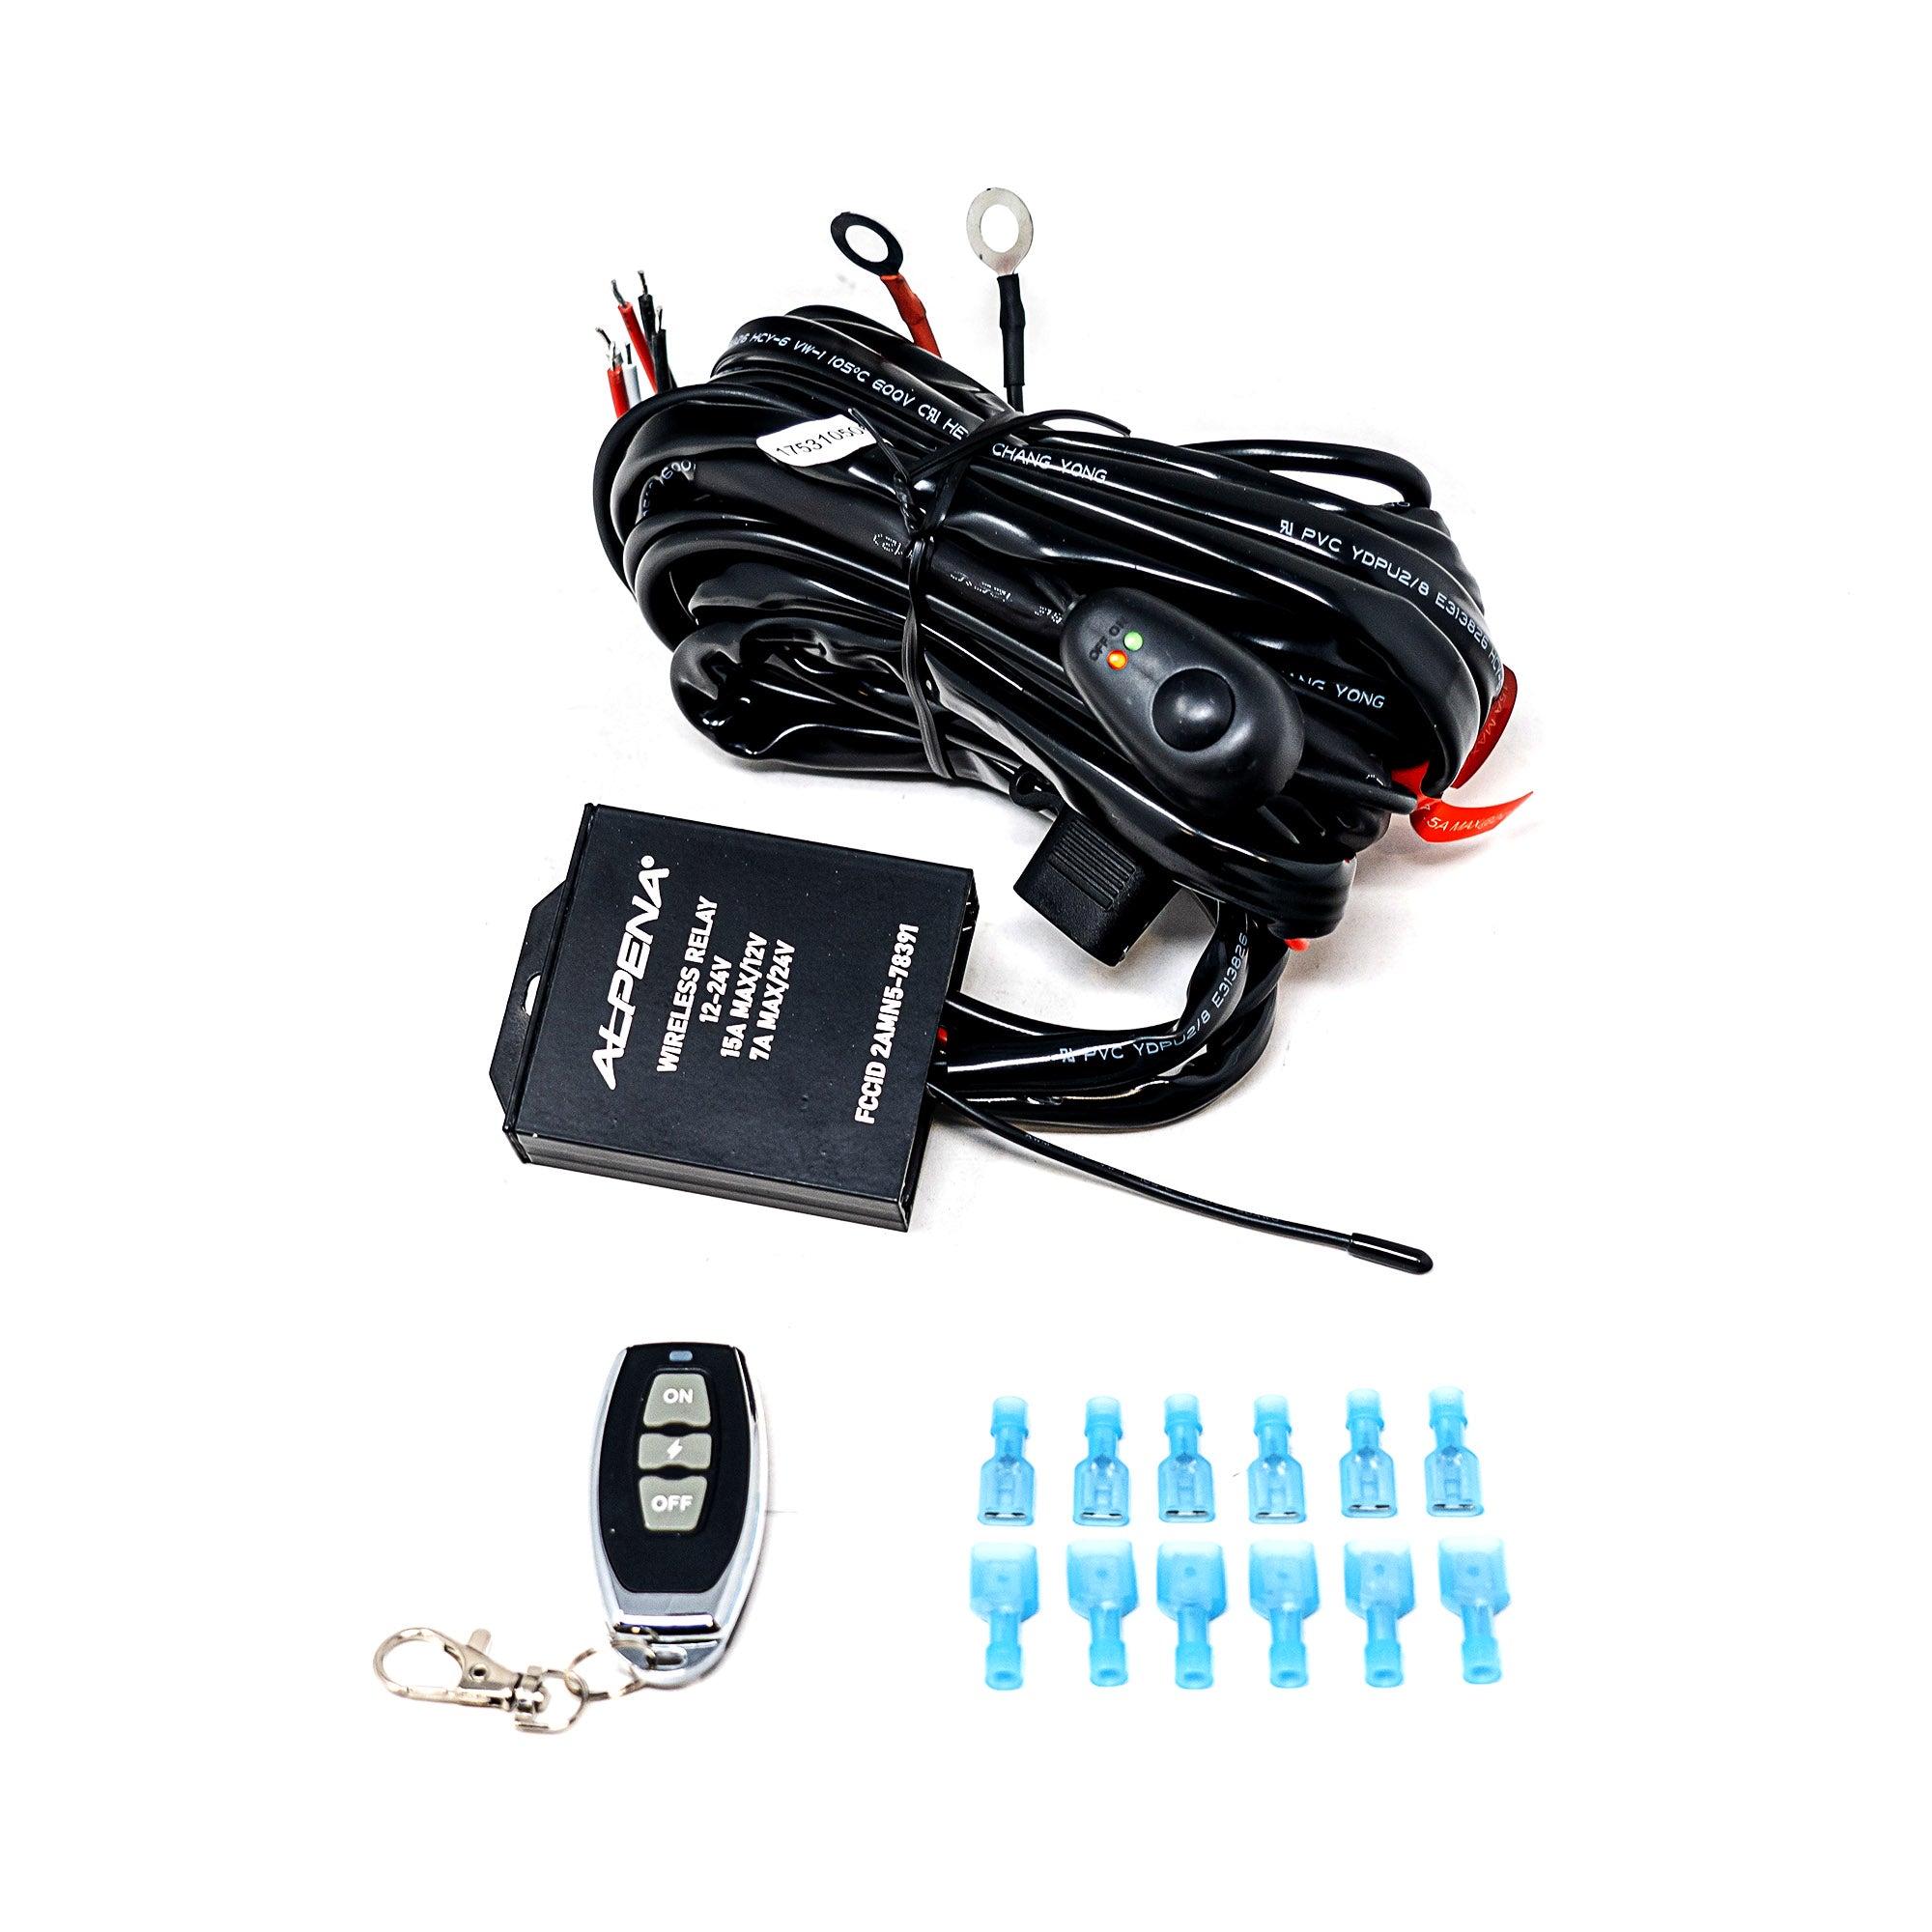
And a wiring harness for both of the lights made for these lights by the same company (also obtainable at Walmart):
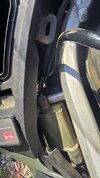
All was well and good following the guide above, very straightforward, until it came time to actually mount the lights. You see, there is not much room between the fairing and the carriage bolt, meaning that the lights linked here are too big without modification. This is where this thread kicks in to help those who also want to follow the same path I did.
What you will need (not including the parts listed in the prerequisite thread) and can be found at your local Lowes:
4x - 1/4in flat washers
2x - 1/4in nuts to fit on the carriage bolts (you will need 6 in total for both bolts but should already have 4 from the other thread)
2x - 8in mending plate (make sure it has holes in it, see below for example) (also I might refer to it as 'bracket' by mistake - they are interchangeable here, apologies)
1x - 5/16 drill bit (you may or may not need this, or need one bigger depending on what light you get and bolt size; this is what worked for my Alpenas)
1x - Ankgle grinder
1x - Sharpie/marking marker etc (Optional)
1x - Spray paint (Optional)
1x - Dremel tool
1x - Socket and ratchet set
1x - Automotive pickup tool (The official name of the spring loaded flex claw grabber thing, see below)
1x - Wire Strippers
1x - Heat Gun
1x - Assorted Heat Shrink
1x - Soldering Iron
1x - Electrical Solder
1x - Wire Loom (I used 7ft x 0.5in; link below)
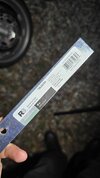

The first thing you should do is figure out what hole works best for your light; bigger lights may require a hole further away from the fairing, or for you to drill your own. In the case of these lights, I found that the second hole from the fairing of the plate works best for me.
Take the plate and your 5/16 drill bit and drill out the respective hole you intend to mount the light in. Then, cut the excess of the plate off. In my case, I was able to drill the hole and then cut the plate in half.
Optional idea here I had after mounting, you can spray paint the bracket to be whatever color you want (i.e black) before mounting. You can also shave the bracket down on the side closer to the fairing with an angle grinder to prevent it from rubbing against the fairing (or somehow otherwise cap it off to prevent scratches)
After you have installed the carriage bolt, regular washer, and nut just like in the aforementioned thread you totally have read by now, you should then place another nut on the carriage bolt. (This will be the plate's top nut.) Measure how low the bracket will sit by eyeballing the mirror cover and how high the plate's top nut is. Then, take a dremel and your marking tool, and on the mirror cover, eyeball and mark out the spot where the bolt will go in order to allow the mirror cover to clip back in. Take the dremel and slowly sand away the plastic until there is a small semicircle that allows the bolt to go through (more info on that in the aforementioned thread).
Take a flat washer and stick it on top of the plate, then place a flat washer on the bottom of the plate, followed by another nut. Tighten the bottom nut until everything is sandwiched and snug between both nuts. It should look like what I have below. Once you're happy with the placement of the light, tighten the bottom nut and the top plate nut down.
If the plate swivels when you move the light, tighten down the top nut - the one below the regular washer that's just below where you stuck the bolt in. (and all the other nuts too - just in case)
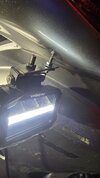
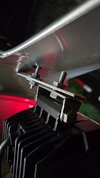
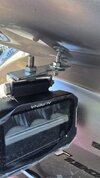
Also make sure to test your lights to make sure they work.
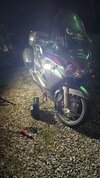
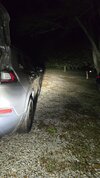
Of course, having them is all fine and great, but they do no good if they aren't wired. As I mentioned before, I'm no electrician. If I were, I'd wire my accent light into my ignition or something that always has power so long as the bike is on, and my lights into my high beams or something. Since I can't do that, we'll do the next best thing: spend money and get a dedicated wiring harness that supports 2 lights (linked above).
Important to note obviously I don't know your lights, I know what I installed, and what I installed had 4 different wires on the light, and 3 wires for each hookup of the harness.
The 4 on the light are the Positive, Negative, "Offroad" and Accent. TL;DR is that the Alpenas have a DRL in the middle, and then 2 sections north and south of the DRL. One is only powered via the positive and the other is only powered via the "offroad" (all of this is written on the instructions and box of the lights) I have opted to have them all hooked up and lit up, but you can pick and choose which you'd like.
The 3 on the hookups on the harness are Positive, Negative, and Accent.
To make a long story short, if you want them all lit up like I do, then wire them like this:
Positive and Offroad on Light to Positive on Harness
Negative on Light to Negative on Harness
Accent on Light to Accent on Harness
Also slight irritation to mention: the Accent on the Light when hooked to the Accent on the Harness doesn't actually function as such so far as I can tell. It only comes on when the button to turn the lights on is pressed, so I don't know, may just be me.
Now this wiring harness is long. It's meant for a car, and yes while you could probably cut it and rewire and solder it to shorten it, I didn't. I ended up tucking the excess wire under the rear seat. Out of sight, out of mind and all that. Whatever works.
First, you'll need to remove your seats, the right saddlebag, and the right battery cover plastic piece. Next what I did was unbolt the bolt under the front seat that allows you to move your tank up and down or back and forth, and then unbolt the two small bolts just under the handlebars that go to your tank. I then ran the harness under the tank and over the air box as shown.
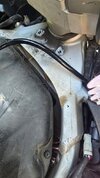
Now don't worry, this harness has enough length from the split from 1 into 2 to reach both sides with ease and more to spare. I routed the right side under the right-side plastic holder and over the tubes and covers (not a mechanic either as it turns out) and brought it out just above the cover that you pull off to change your plugs, as seen:
This is where your 'automotive pickup tool' comes into play. You can just fish the wires from the harness down in that area, and then with a flashlight, look up there and grab the ends with the tool, and gently pull them through the hole.
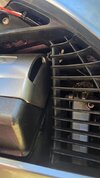
On the left hand side, I did the same thing. I looked for a spot between the frame and the left side plastic holder for a spot where I could route the wire. I looked for a spot
where I could actually see all the way to the ground and followed that. Same plan as last time, just fish it through with the automotive tool.
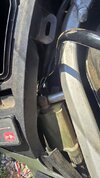
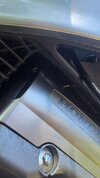
After that, it's as simple as soldering the wires together, heat shrinking them, and adding wire loom over that area and any other areas you think may need protecting.
I mounted my button for this harness on the left-hand side, just below my plastic holder on the fairing, but it has a long wire so you could get away putting it anywhere.
Obviously, I'm no engineer nor electrician, but I think I did alright. There's probably better nuts or washers or tools or anythings I could've used to make this or make it better, but this is what I came up with, and after a preliminary ride today of around 60 miles or so, everything still seems to be in place just fine, so I'm quite proud of myself considering. If you have suggestions to make this better or other ideas you want to try, please share them. My goal is for the next person that does this gets a good light mount, so keep 'em coming.
I hope this has either helped or inspired others to undertake what they thought previously not possible, it really isn't too terribly hard. Any questions or clarifications needed, I'll be keeping my eye on this thread.
Thank you all, ride safe.

I was on a quest to find under mirror mounts for lights for the 1300, and the only options were to either spend $100 on a 3D print one, or make one my own by borrowing this genius thread made by @Obo which you should take a quick glance at before we continue, as I will be assuming you have already read through it.
Article [13] - ST1300 - Under mirror light mounts - easy DIY and under $5.00 | ST1300 Articles
I've been wanting to add a small set of LED lights under my mirrors, but didn't want to spend the $100US for a set of the 3d printed ones. I've been looking at other options and today I found an easy and simple solution, most of it already installed on the motorcycle. With the mirror covers...
However, the lights linked by the OP are no longer available on Amazon it seems, nor am I an electrical guy (and I'm also impatient) so I swung by the local Walmart and picked up the following Alpena TrekTec XL4Ps (Alpena's website shows they have a new model, the XL6P, it should work as well):
And a wiring harness for both of the lights made for these lights by the same company (also obtainable at Walmart):

Wireless Installation Kit
The Alpena Wireless Installation Kit powers 2 lights to illuminate your car on or off the road. Our LED light kit easily connects 2 LED or halogen auxiliary lights and contains a universal auxiliary light harness. With a 15A inline fuse in waterproof holder, this LED installation kit features a...
alpena.ca
All was well and good following the guide above, very straightforward, until it came time to actually mount the lights. You see, there is not much room between the fairing and the carriage bolt, meaning that the lights linked here are too big without modification. This is where this thread kicks in to help those who also want to follow the same path I did.
What you will need (not including the parts listed in the prerequisite thread) and can be found at your local Lowes:
4x - 1/4in flat washers
2x - 1/4in nuts to fit on the carriage bolts (you will need 6 in total for both bolts but should already have 4 from the other thread)
2x - 8in mending plate (make sure it has holes in it, see below for example) (also I might refer to it as 'bracket' by mistake - they are interchangeable here, apologies)
1x - 5/16 drill bit (you may or may not need this, or need one bigger depending on what light you get and bolt size; this is what worked for my Alpenas)
1x - An
1x - Sharpie/marking marker etc (Optional)
1x - Spray paint (Optional)
1x - Dremel tool
1x - Socket and ratchet set
1x - Automotive pickup tool (The official name of the spring loaded flex claw grabber thing, see below)
1x - Wire Strippers
1x - Heat Gun
1x - Assorted Heat Shrink
1x - Soldering Iron
1x - Electrical Solder
1x - Wire Loom (I used 7ft x 0.5in; link below)


The first thing you should do is figure out what hole works best for your light; bigger lights may require a hole further away from the fairing, or for you to drill your own. In the case of these lights, I found that the second hole from the fairing of the plate works best for me.
Take the plate and your 5/16 drill bit and drill out the respective hole you intend to mount the light in. Then, cut the excess of the plate off. In my case, I was able to drill the hole and then cut the plate in half.
Optional idea here I had after mounting, you can spray paint the bracket to be whatever color you want (i.e black) before mounting. You can also shave the bracket down on the side closer to the fairing with an angle grinder to prevent it from rubbing against the fairing (or somehow otherwise cap it off to prevent scratches)
After you have installed the carriage bolt, regular washer, and nut just like in the aforementioned thread you totally have read by now, you should then place another nut on the carriage bolt. (This will be the plate's top nut.) Measure how low the bracket will sit by eyeballing the mirror cover and how high the plate's top nut is. Then, take a dremel and your marking tool, and on the mirror cover, eyeball and mark out the spot where the bolt will go in order to allow the mirror cover to clip back in. Take the dremel and slowly sand away the plastic until there is a small semicircle that allows the bolt to go through (more info on that in the aforementioned thread).
Take a flat washer and stick it on top of the plate, then place a flat washer on the bottom of the plate, followed by another nut. Tighten the bottom nut until everything is sandwiched and snug between both nuts. It should look like what I have below. Once you're happy with the placement of the light, tighten the bottom nut and the top plate nut down.
If the plate swivels when you move the light, tighten down the top nut - the one below the regular washer that's just below where you stuck the bolt in. (and all the other nuts too - just in case)


Also make sure to test your lights to make sure they work.


Of course, having them is all fine and great, but they do no good if they aren't wired. As I mentioned before, I'm no electrician. If I were, I'd wire my accent light into my ignition or something that always has power so long as the bike is on, and my lights into my high beams or something. Since I can't do that, we'll do the next best thing: spend money and get a dedicated wiring harness that supports 2 lights (linked above).
Important to note obviously I don't know your lights, I know what I installed, and what I installed had 4 different wires on the light, and 3 wires for each hookup of the harness.
The 4 on the light are the Positive, Negative, "Offroad" and Accent. TL;DR is that the Alpenas have a DRL in the middle, and then 2 sections north and south of the DRL. One is only powered via the positive and the other is only powered via the "offroad" (all of this is written on the instructions and box of the lights) I have opted to have them all hooked up and lit up, but you can pick and choose which you'd like.
The 3 on the hookups on the harness are Positive, Negative, and Accent.
To make a long story short, if you want them all lit up like I do, then wire them like this:
Positive and Offroad on Light to Positive on Harness
Negative on Light to Negative on Harness
Accent on Light to Accent on Harness
Also slight irritation to mention: the Accent on the Light when hooked to the Accent on the Harness doesn't actually function as such so far as I can tell. It only comes on when the button to turn the lights on is pressed, so I don't know, may just be me.
Now this wiring harness is long. It's meant for a car, and yes while you could probably cut it and rewire and solder it to shorten it, I didn't. I ended up tucking the excess wire under the rear seat. Out of sight, out of mind and all that. Whatever works.
First, you'll need to remove your seats, the right saddlebag, and the right battery cover plastic piece. Next what I did was unbolt the bolt under the front seat that allows you to move your tank up and down or back and forth, and then unbolt the two small bolts just under the handlebars that go to your tank. I then ran the harness under the tank and over the air box as shown.

Now don't worry, this harness has enough length from the split from 1 into 2 to reach both sides with ease and more to spare. I routed the right side under the right-side plastic holder and over the tubes and covers (not a mechanic either as it turns out) and brought it out just above the cover that you pull off to change your plugs, as seen:
This is where your 'automotive pickup tool' comes into play. You can just fish the wires from the harness down in that area, and then with a flashlight, look up there and grab the ends with the tool, and gently pull them through the hole.

On the left hand side, I did the same thing. I looked for a spot between the frame and the left side plastic holder for a spot where I could route the wire. I looked for a spot
where I could actually see all the way to the ground and followed that. Same plan as last time, just fish it through with the automotive tool.


After that, it's as simple as soldering the wires together, heat shrinking them, and adding wire loom over that area and any other areas you think may need protecting.
I mounted my button for this harness on the left-hand side, just below my plastic holder on the fairing, but it has a long wire so you could get away putting it anywhere.
Obviously, I'm no engineer nor electrician, but I think I did alright. There's probably better nuts or washers or tools or anythings I could've used to make this or make it better, but this is what I came up with, and after a preliminary ride today of around 60 miles or so, everything still seems to be in place just fine, so I'm quite proud of myself considering. If you have suggestions to make this better or other ideas you want to try, please share them. My goal is for the next person that does this gets a good light mount, so keep 'em coming.
I hope this has either helped or inspired others to undertake what they thought previously not possible, it really isn't too terribly hard. Any questions or clarifications needed, I'll be keeping my eye on this thread.
Thank you all, ride safe.

Attachments
Last edited:

